Get the piecesLink
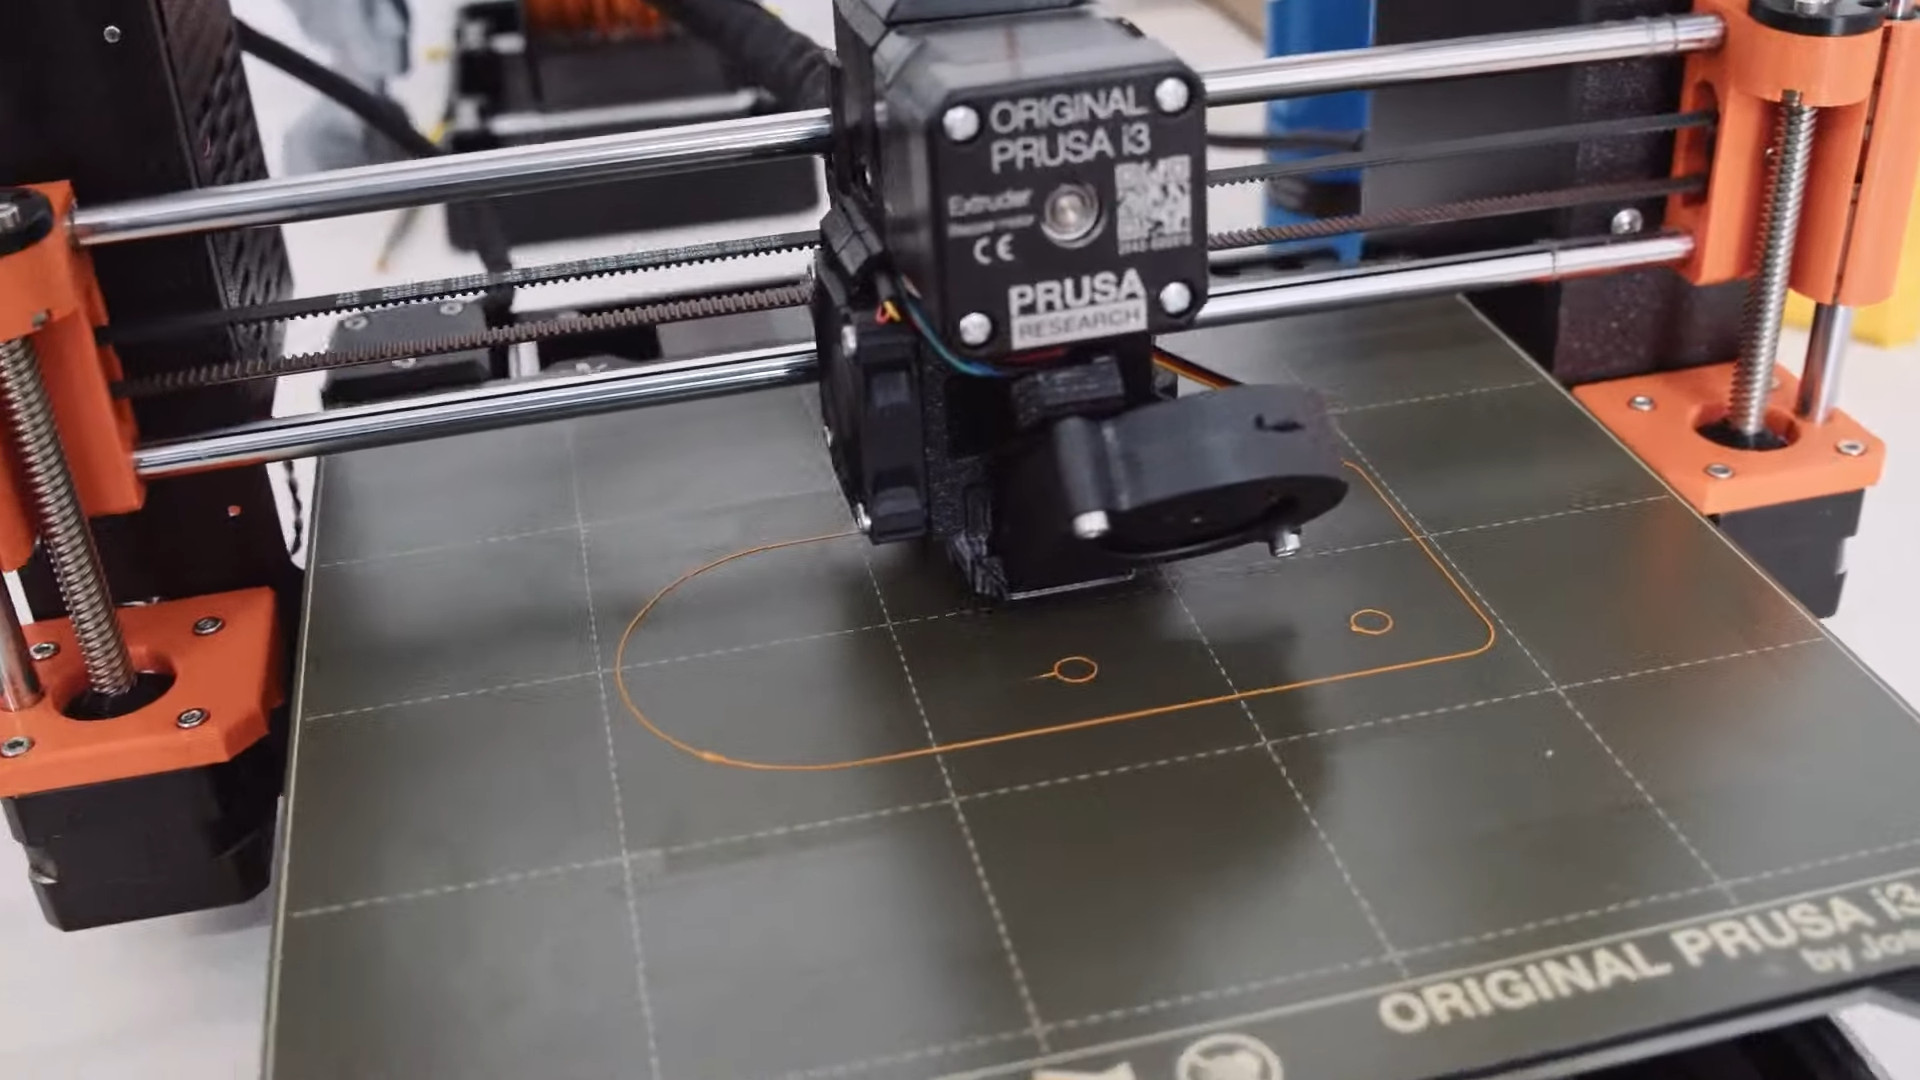
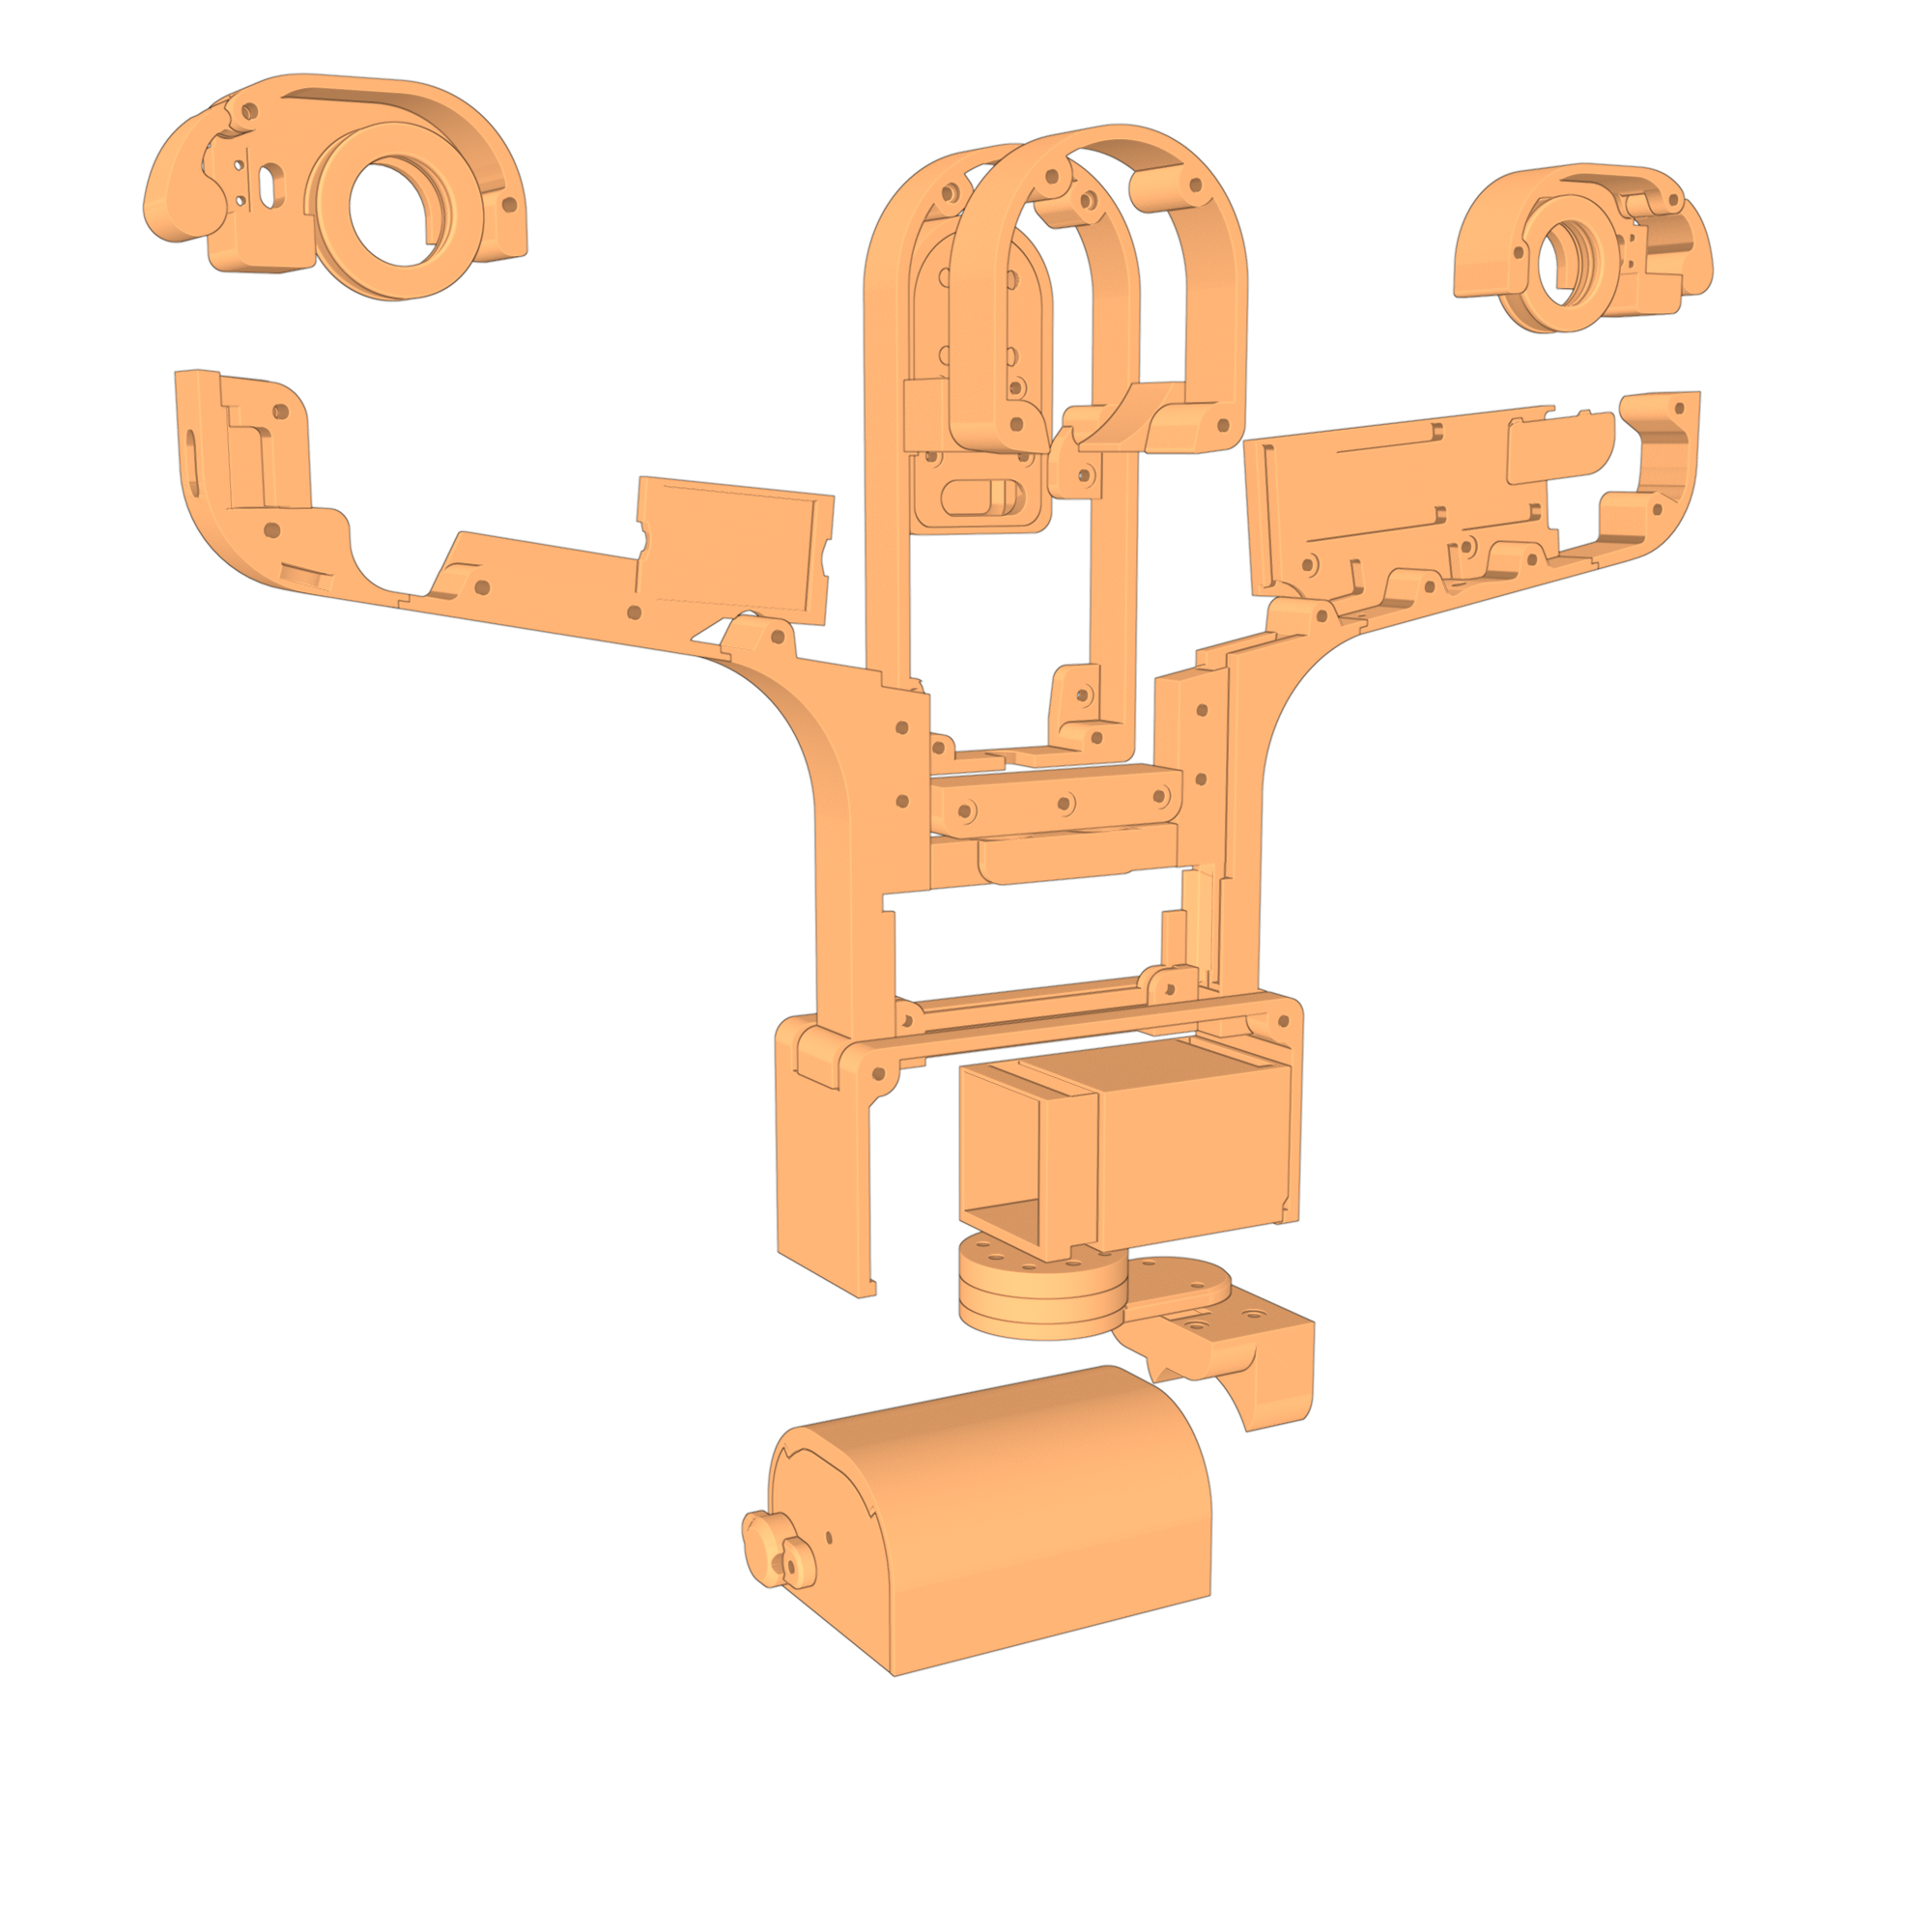
3d printLink
MillingLink
Aluminum compositeLink
Some cablebot parts are milled in a composite panel consisting of two aluminium cover sheets and a polymer core, this material can also be bent if cut at specific depth with a 90 degrees V-end mill. In the cablebot repository you can find all the parts as DXF files. Gcode has to be generated with specific settings for the used CNC machine.
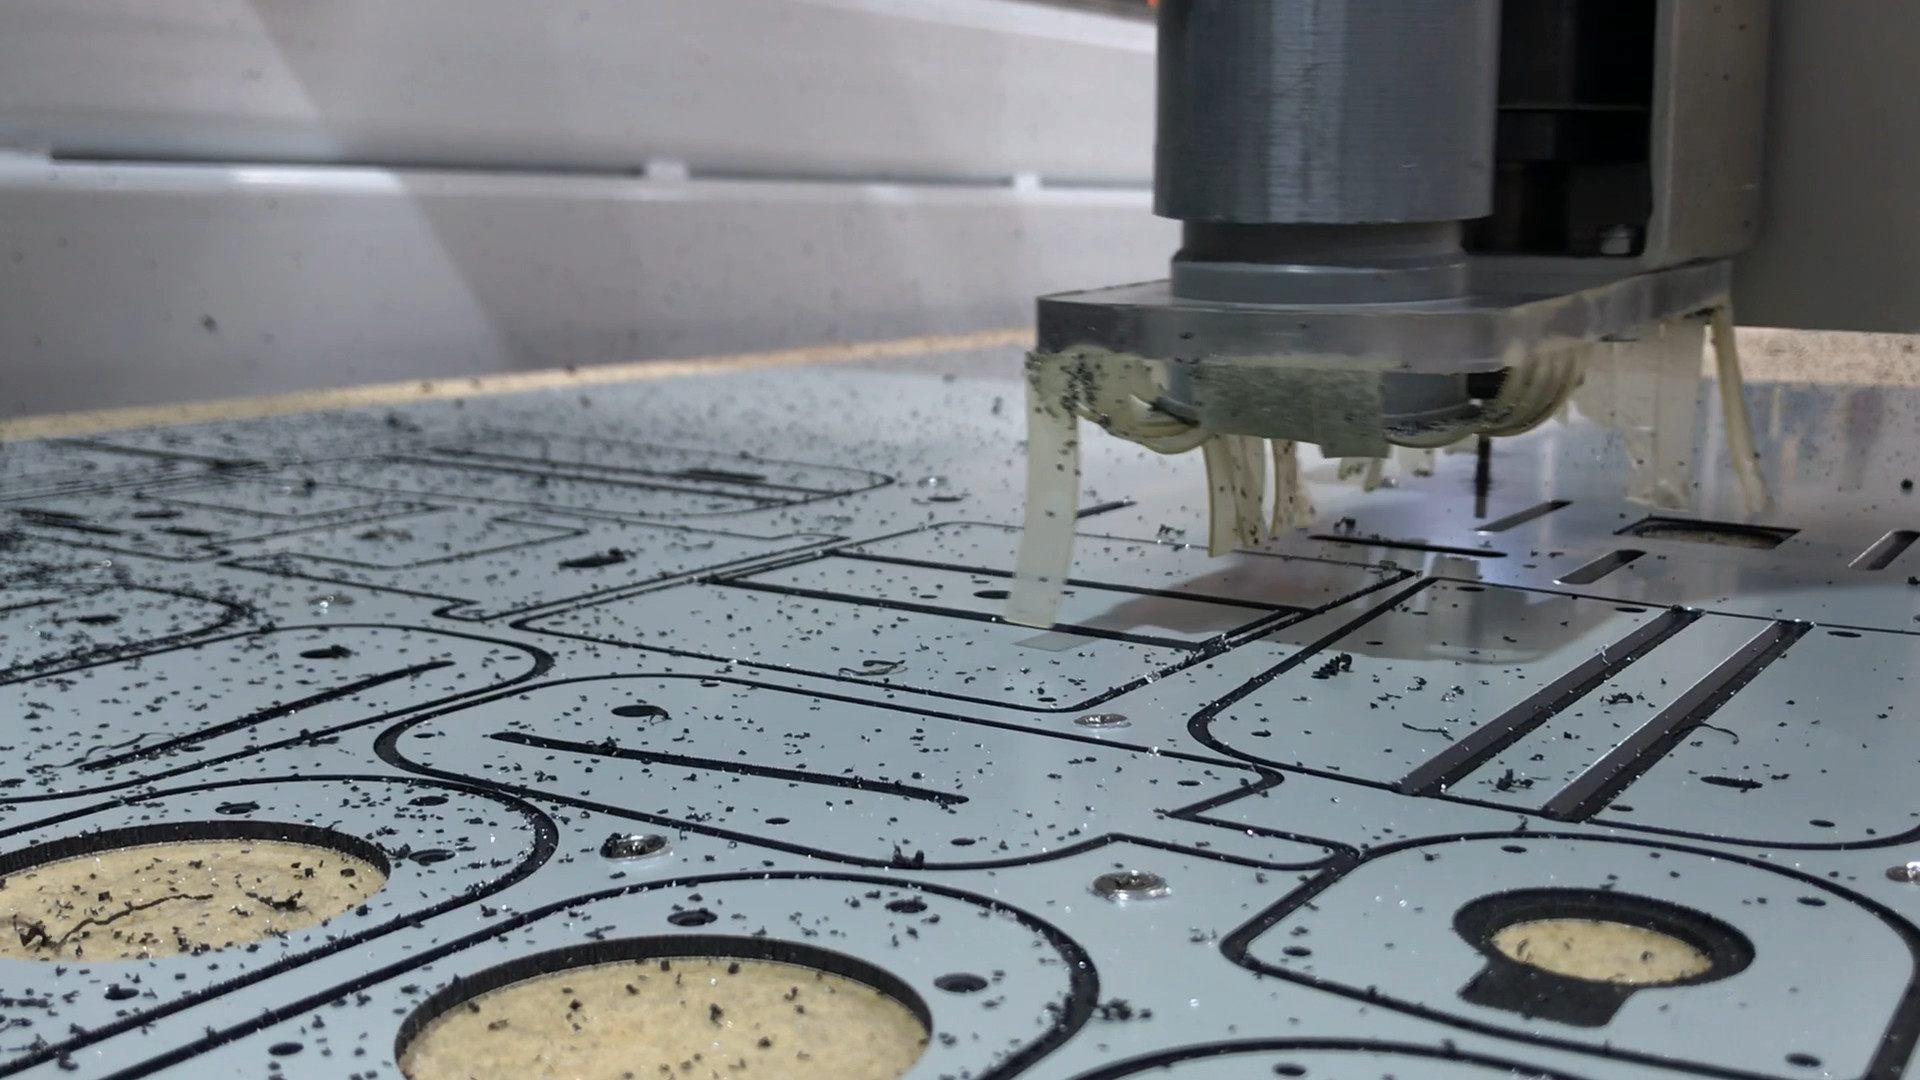
Feeds and speeds for V - Curve milling bit to bend alucobond
In our case we are using a high revolution spindle that works in between 18k-24k RPM. After some tests, we have found that this feeds and speeds work us well for cutting 3mm alucobond composite:
| Tool | RPM | Feed | Feed plunge | Stepdown |
|---|---|---|---|---|
| V carve - 90º | 24,000 rpm | 5,000 mm/min | 3,000 mm/min | 0.22 mm/step |
| 3 mm flat tool | 24,000 rpm | 5,000 mm/min | 3,000 mm/min | 1.2 mm/step |
| 6 mm flat tool | 18,000 rpm | 5,000 mm/min | 3,000 mm/min | 1.7 mm/step |

Gcode generationLink
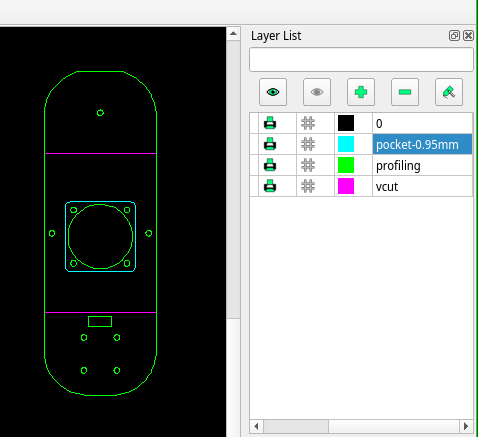
In the Romi Cablebot github repository you can find all the drawings (in DXF format) to generate the needed gcode. In the files you will find different layers depending on the operation and the depth, in this example you can see the layer called vcut for the folding marks, pocket-0.95mm indicates a pocketing operation with a depth of 0.95 mm and profiling to cut the piece. Keep in mind that you will need to add bridges on your piece, so it doesn't move during machining, this process is different depending on the CAM software you use.
Generating Gcode in BlenderLink
Blendercam is a free/libre addon that allows gcode generation inside blender, in this way we avoid the use of extra software and model exporting. Don't forget to check their documentation.
To use it you need to clone the addon repository to some place in your computer:
git clone https://github.com/vilemduha/blendercam
Some python dependencies should also be installed, you can do it with pip from the command line:
$ ./pip3 install shapely
$ ./pip3 install vtk
$ ./pip3 install Equation
OpenCamLib is an optional dependency, but based on our tests we recommend its installation.
To activate the addon, in Blender, open the Preferences window (edit → preferences).
Clik on File Paths button and enter the path where you cloned the blender CAM repository in the Scripts field.
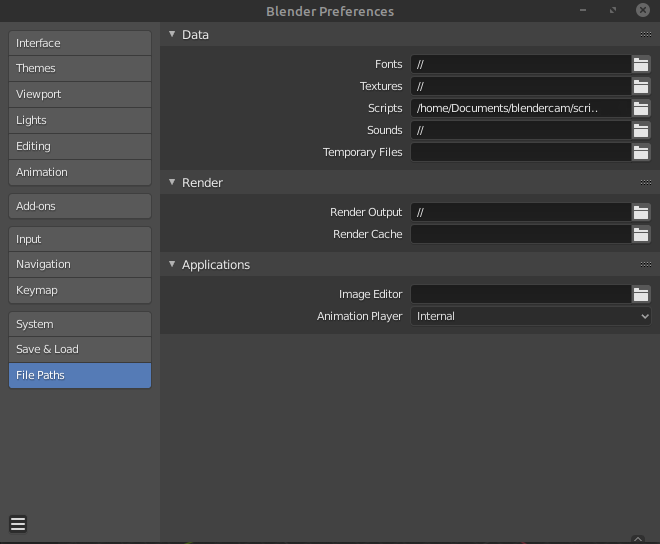
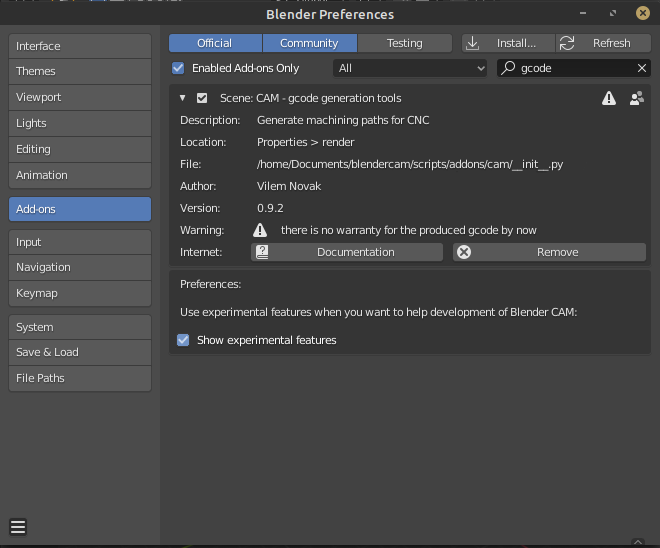
Save preferences and restart blender. Now enable it in Add-ons section (preferences window).
Adding a post processorLink
After installing the addon you will need a postprocessor script that works with your specific CNC machine. If none of the included ones works for you, you can easily create your own:
1. Modify scripts/addons/cam/__init__.py and add a new item on the machineSettings class (around line 125):

2. Create a new file in scripts/addons/cam/nc/ directory with your post processor name. (ej. raptor.py). You can copy an existing postprocessor and modify it to fit your needs.
3. Modify scripts/addons/cam/gcodepath.py, search for the exportGcodePath() function and add a condition for your post processor where you specify the extension of the file and the name of the module you just created on step 2.
There is example commit on what's needed to add a postprocessor here. It is a little outdated (use gcodepath.py instead of utils.py) but can be used as a general guide.
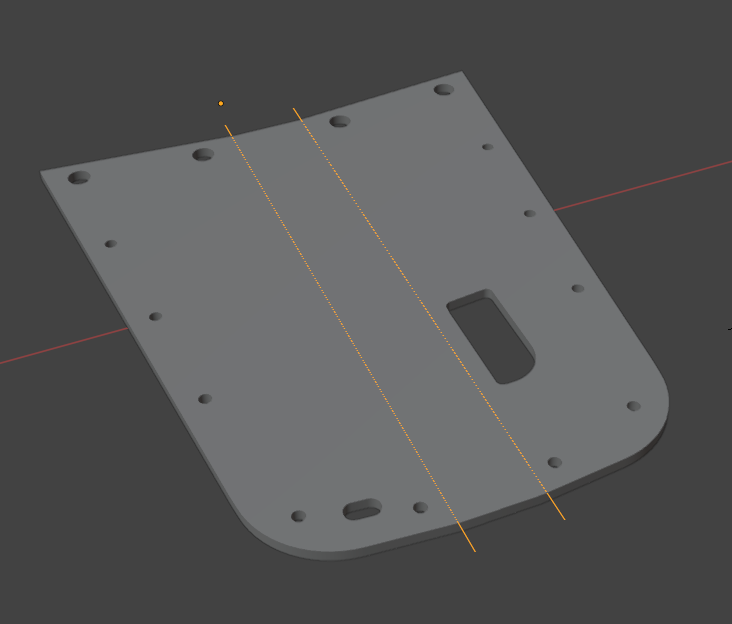
Steps to get folding tracesLink
As an example on how to get the proper traces for alucobond milling with folding parts.
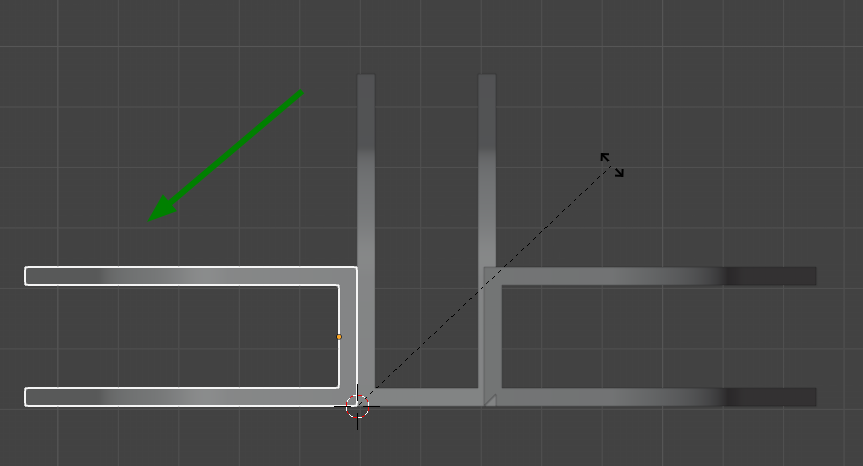
1. With the object cutting side pointing up, duplicate it and rotate 90º with the bottom corner as rotation point.

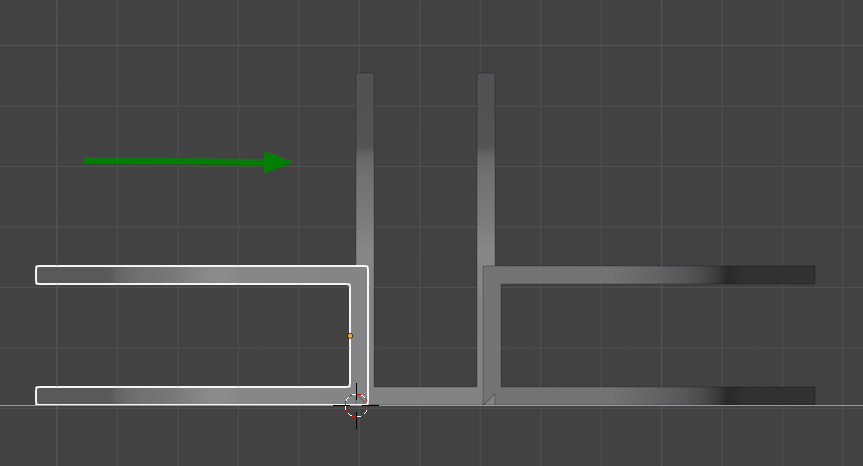
2. Displace the duplicated part 2mm towards the center. That's one millimeter per side of the folding axis.
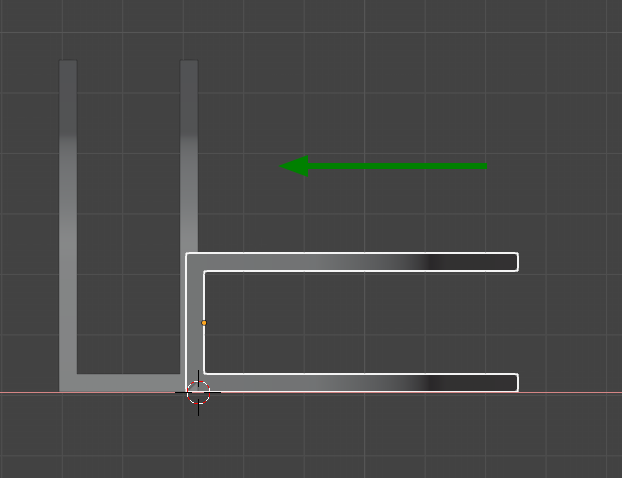
3. Repeat both steps on the other side
4. Create a line at 1mm from the part border (centered between both pieces)
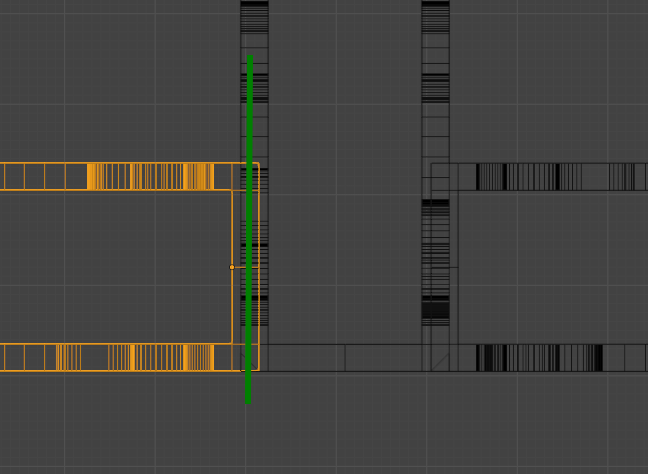
5. Repeat the process for the other side, now you have the V cutt milling traces
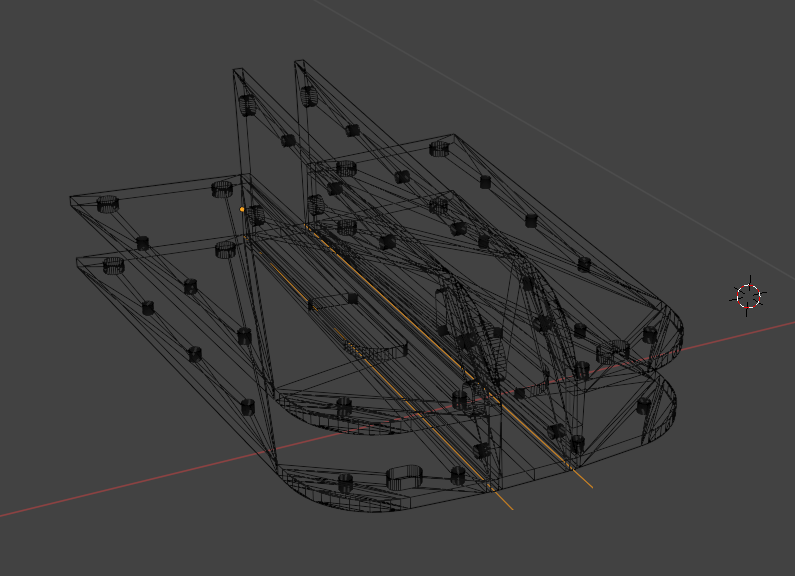
6. Join the two parts, remove the vertices outside the bottom layer and create a bridge to join both parts. This paths should be -2.2mm from the surface of the material (leaving a thickness of 0.8mm after cutting)
Now you can process the part with blendercam to get the gcode.
HDPELink
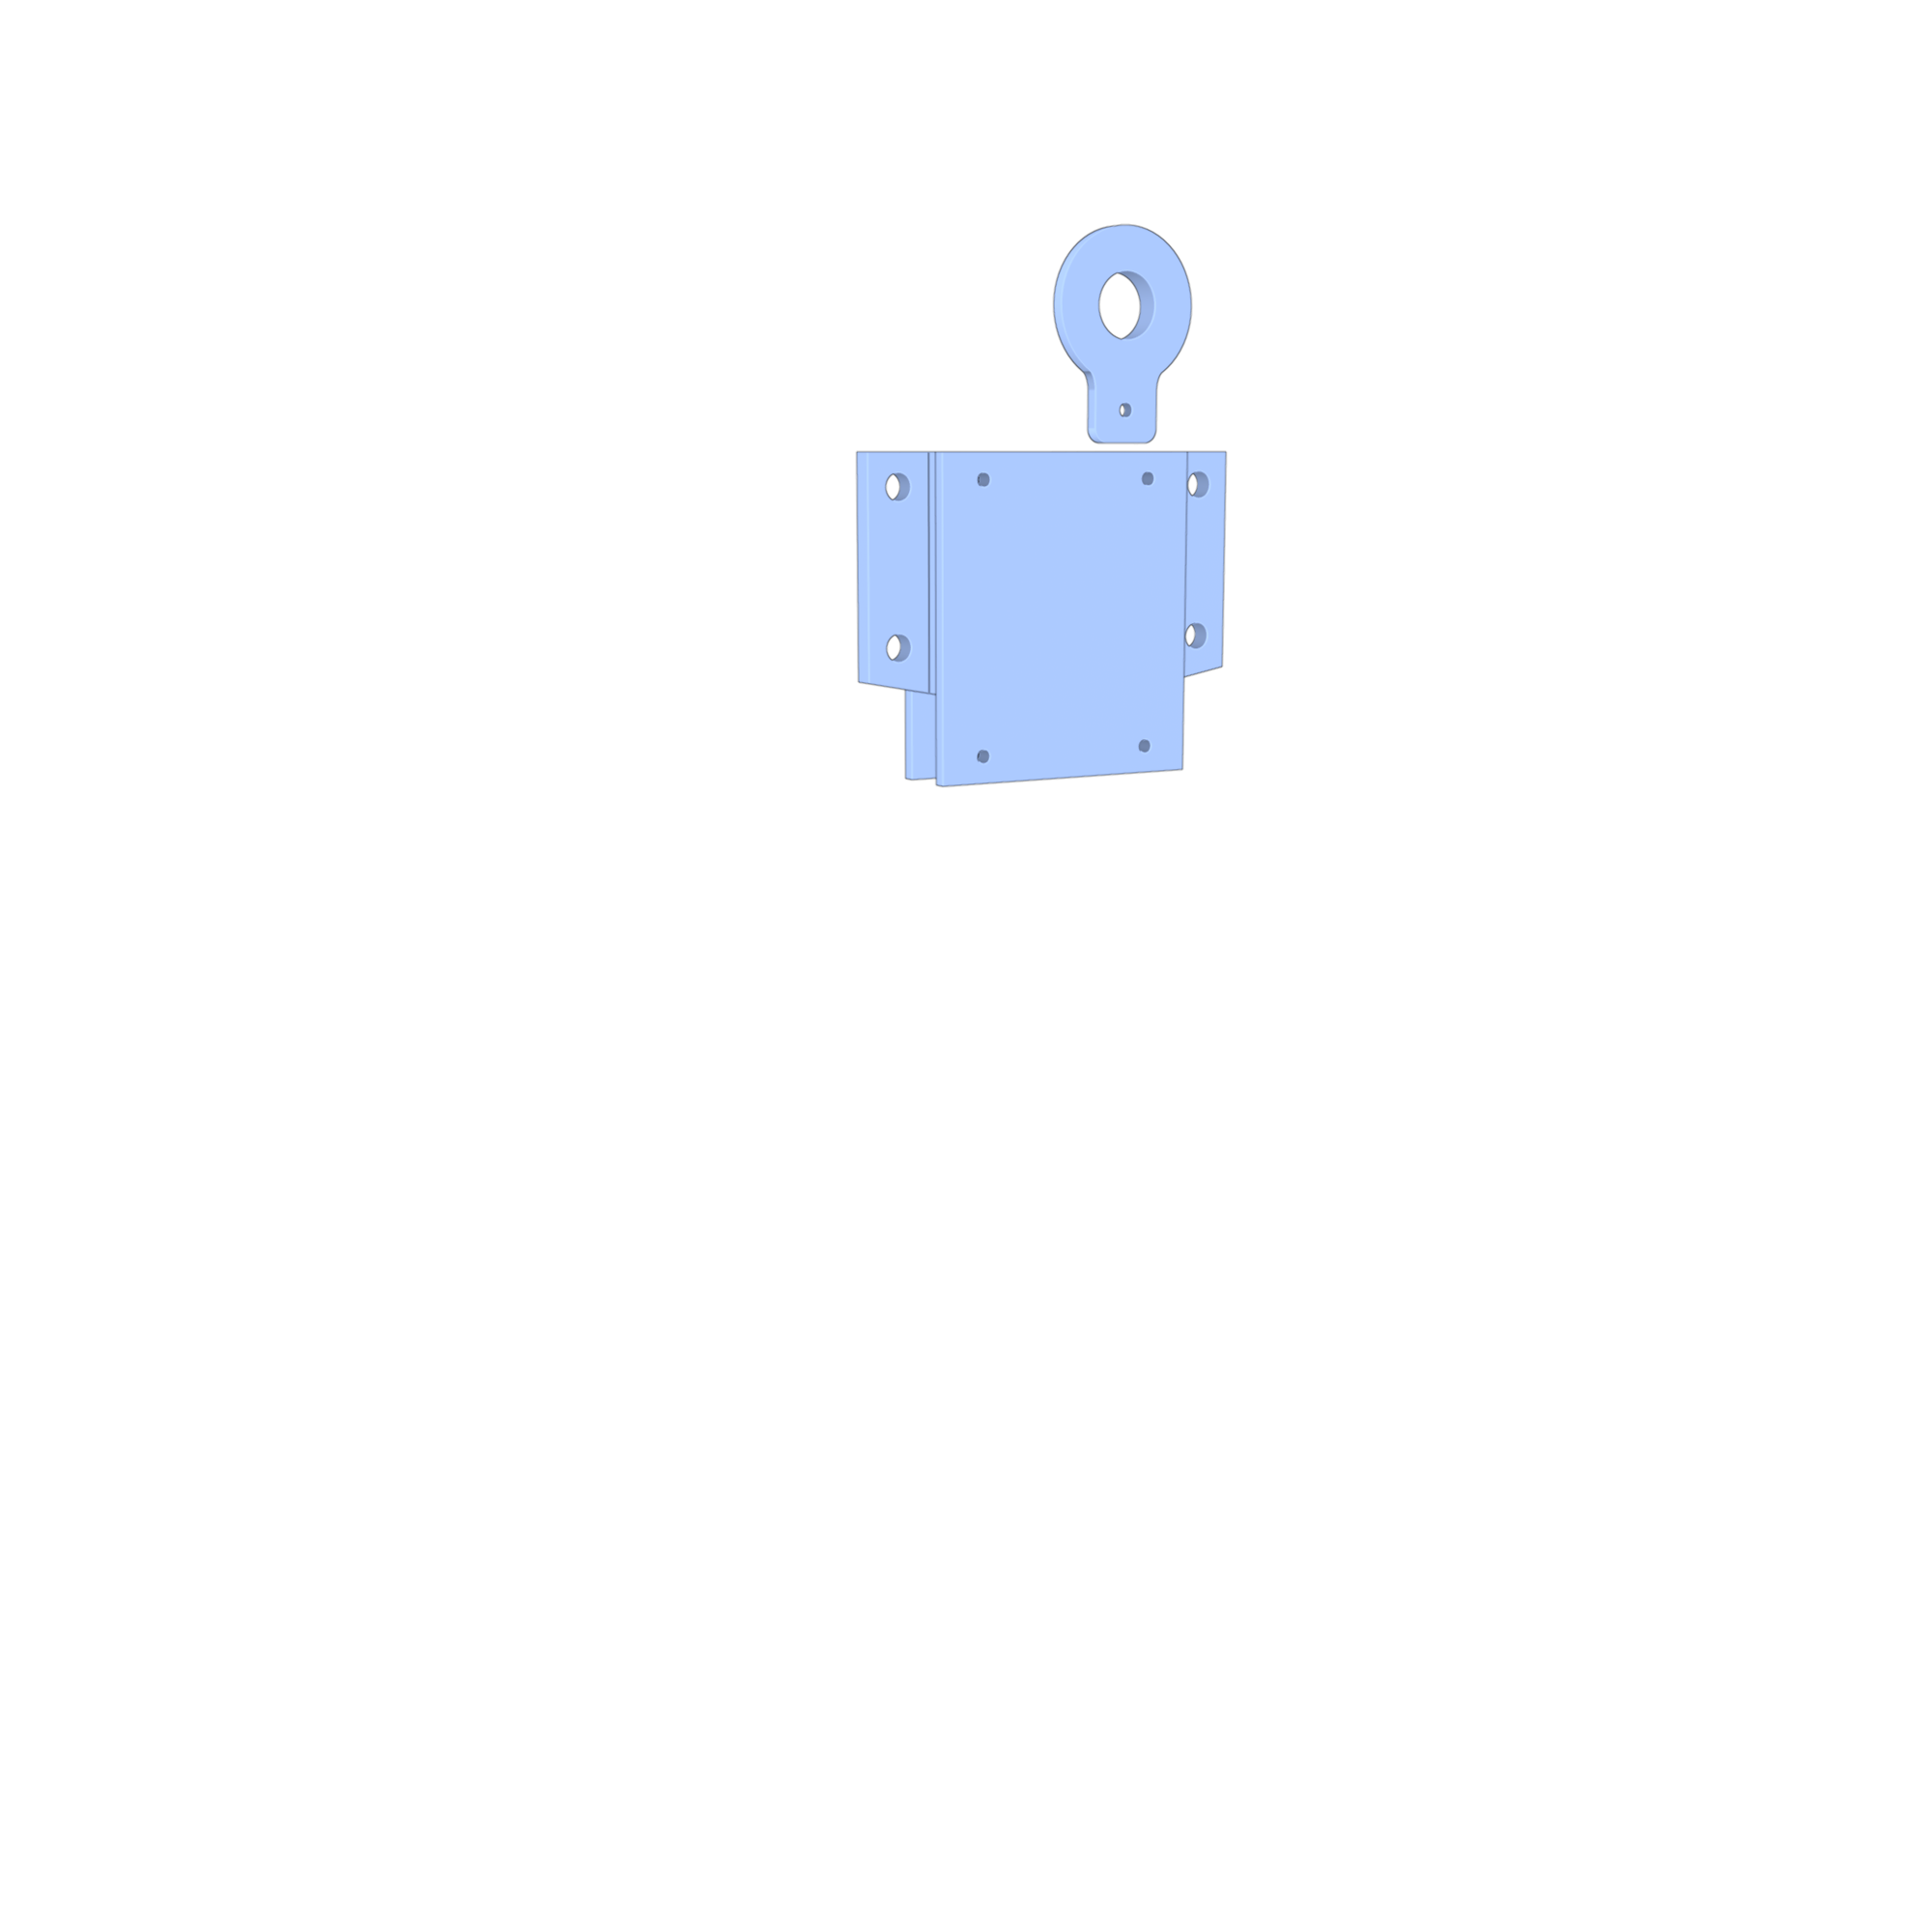
For the tension adjusting slider some HDPE pieces need to be milled, the centerpiece is the more complicated since the milling has to be on both sides.
Feeds and speeds for HDPE:
| Tool | RPM | Feed Cut | Feed Plunge | Stepdown |
|---|---|---|---|---|
| 3 mm flat tool | 18,000 rpm | 2,000 mm/min | 2,000 mm/min | 1.4 mm/step |
| 6 mm flat tool | 18,000 rpm | 6,000 mm/min | 5,000 mm/min | 1.4 mm/step |