Installing and Operating the CablebotLink
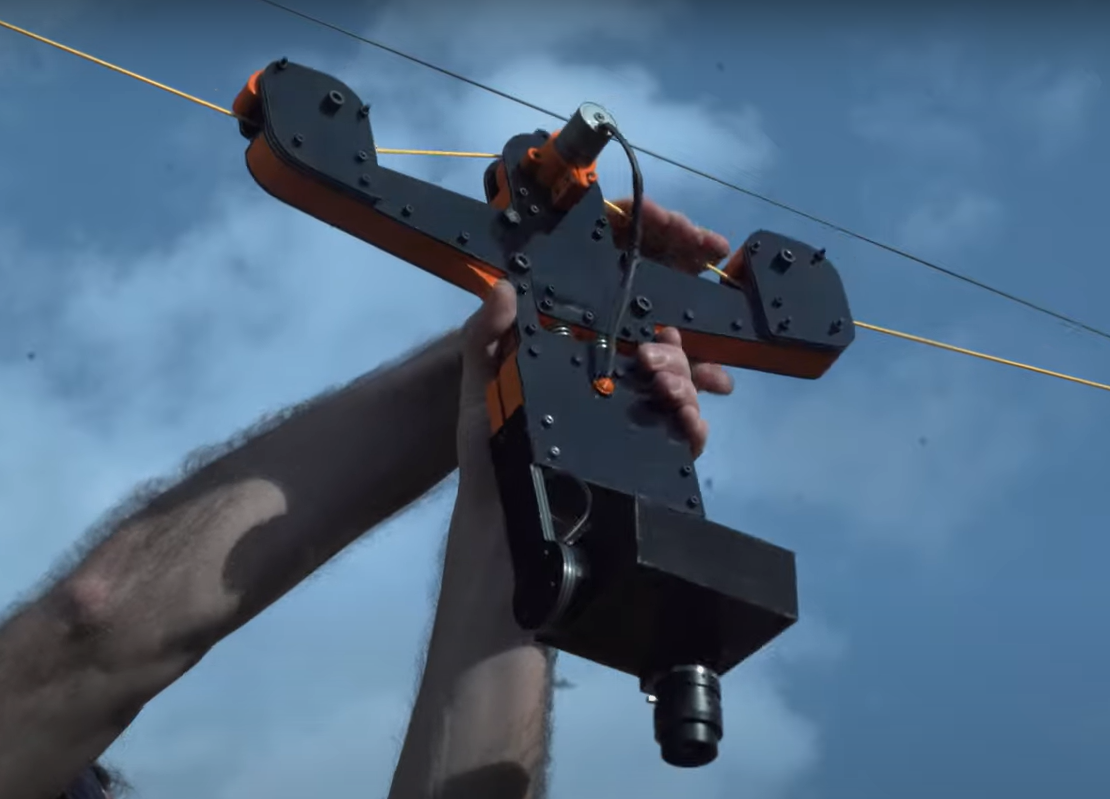
The Cablebot is a crucial component of the ROMI platform combining the Carrier module, the Charging Station and the Camera module into a single tool dedicated to the remote operation and autonomous scanning of crop beds.
The Cablebot is under continous developement. For more detailed instructions refer to the development respository.
Installation ProcessLink
To install the Cablebot, follow these steps:
-
Prerequisites: Ensure that you have the necessary hardware components, including the Cablebot itself, its base station, and any additional accessories required for your specific use case. Also, make sure you have the required software tools and dependencies installed on your system.
-
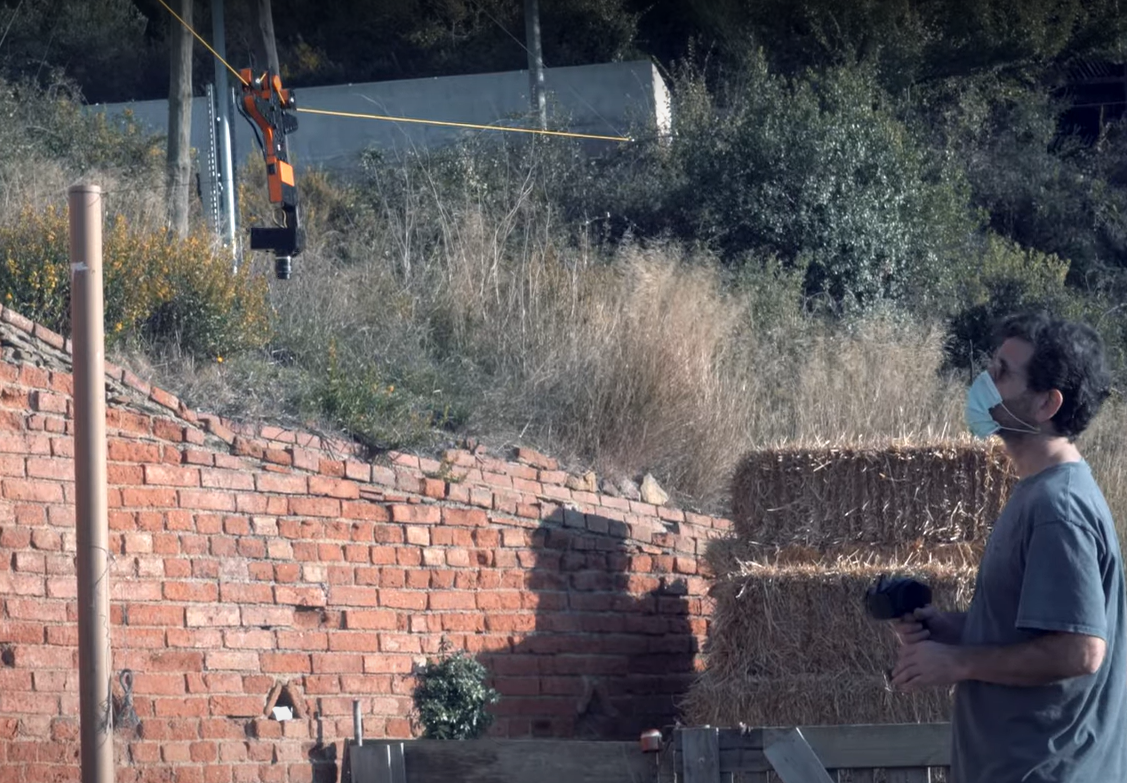
Physical Setup: Set up the Cablebot in the designated area on your farm. The installation manual provided with the Cablebot should offer detailed instructions on assembling and mounting the robot cable in your particular location (stand-alone, polytunnel, etc). Ensure the bot is properly secured and calibrated for optimal performance.
- Connectivity: Establish the necessary connectivity between the Cablebot and your WLAN (Wi-Fi 802.11n). This connection is crucial for communication and data exchange during operation. Refer to the documentation for the Cablebot for specific details on establishing a stable connection.
Operating the CablebotLink
Operating the Cablebot involves a series of steps to ensure its proper functioning and execution of tasks:
-
Power On: Ensure that the Cablebot is powered on and all systems are operational. Check the battery levels and make sure they are adequately charged before initiating any task.
-
Calibration: Before deploying the Cablebot for any agricultural task, it is essential to calibrate its sensors and actuators. Calibration ensures accurate data collection and precise movements during operation. For manual control and navigation, the Cablebot can be operated using the off-the-sheld RC (Remote Control) included.
-
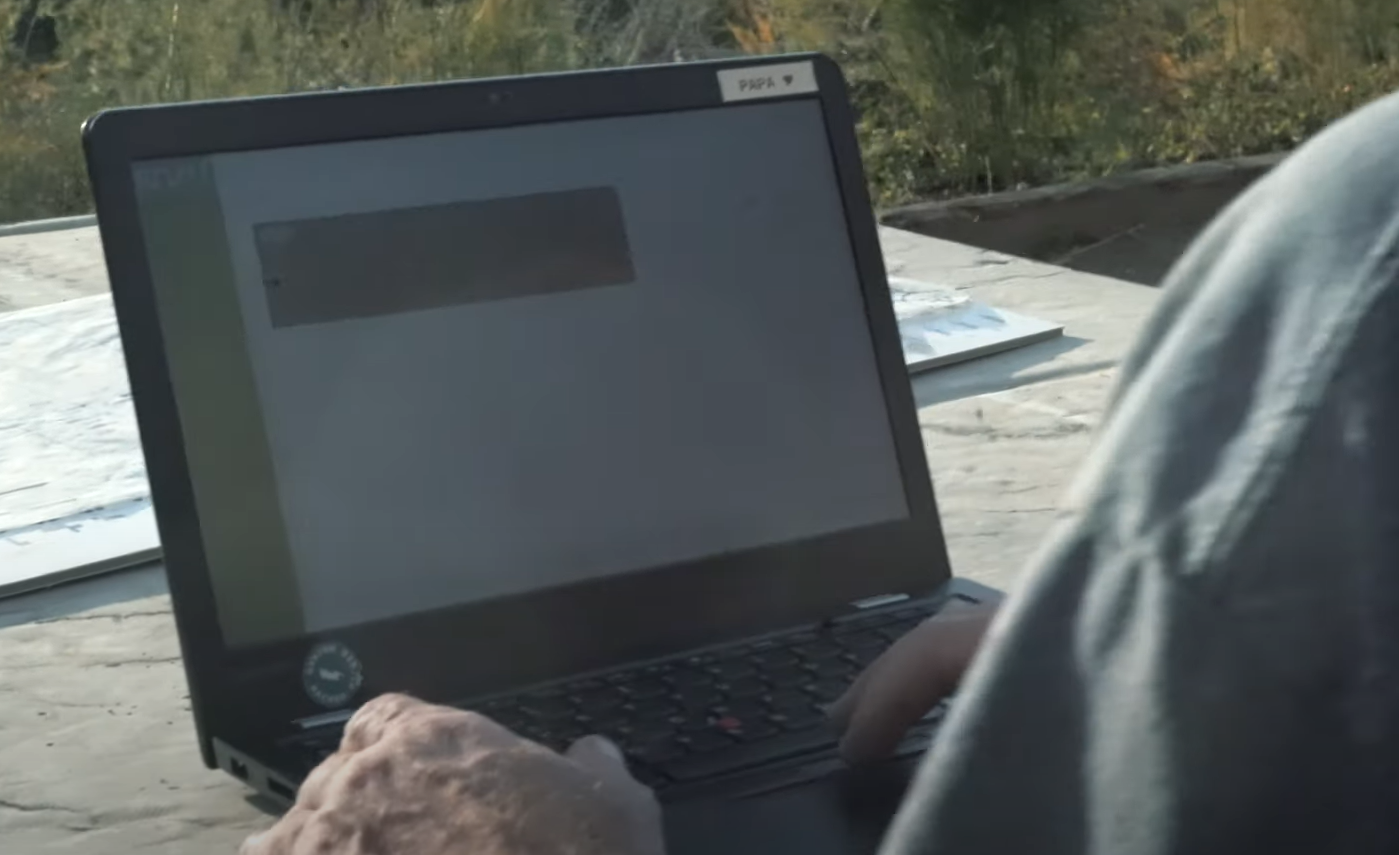
Task Selection: Using the Farmers Dashboard interface, select the specific task you want the Cablebot to perform. The Farmers Dashboard provides an intuitive user interface that allows you to choose from a variety of predefined tasks or create custom tasks.
-
Task Parameters: Depending on the selected task, you may need to input certain parameters such as the target location, or specific actions to be performed. Provide the necessary information through the Dashboard to guide the Cablebot correctly.
-
Initiate Task: Once all the parameters are set, initiate the task and let the Cablebot autonomously carry it out based on your programmed task schedule.
-
Real-time Monitoring: Throughout the task execution, you can monitor the Cablebot's progress in real-time using the Farmers Dashboard. Live camera feeds and status updates will keep you informed about its actions.
-
Data Collection: The Cablebot is equipped with various sensors to collect relevant data during its operations. This data can be valuable for analyzing farm conditions, crop health, and other important agricultural metrics.
-
Task Completion: Once the Cablebot completes its task, it will either return to its base station or await further instructions, depending on the task's nature.
-
Maintenance: Regularly inspect and maintain the Cablebot to ensure it remains in optimal working condition. Follow the provided maintenance guidelines to keep the robot running smoothly.
-
Task Review and Analysis: After the Cablebot completes a task, review the data collected and analyze the results. The Farmers Dashboard might provide tools for data visualization and analysis to help you make informed decisions.
Some graphical user interfaces are currently under development. For more detailed instructions on the operation and control commands refer to the ongoing software installation guide at Farmers Dashboard Cablebot.