Assembly guideLink
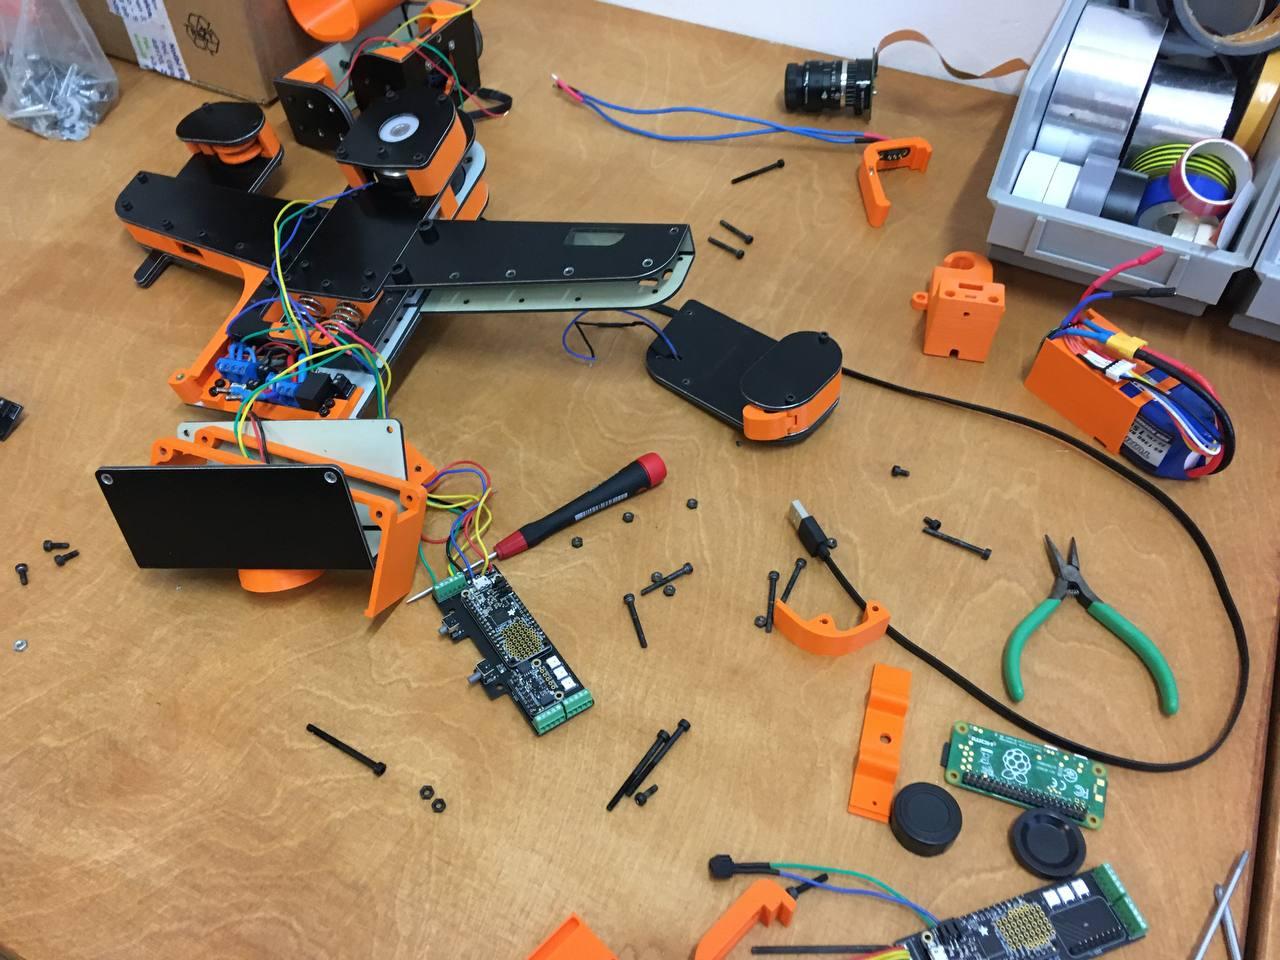
The cablebot assembly requires simple tools: Pliers, screwdrivers, allen keys and a plastic or wooden tool to apply pressure without damaging the pieces. For electronics assembly some extra tools are needed: solder station, cutting pliers, shrink tube and hot air gun.
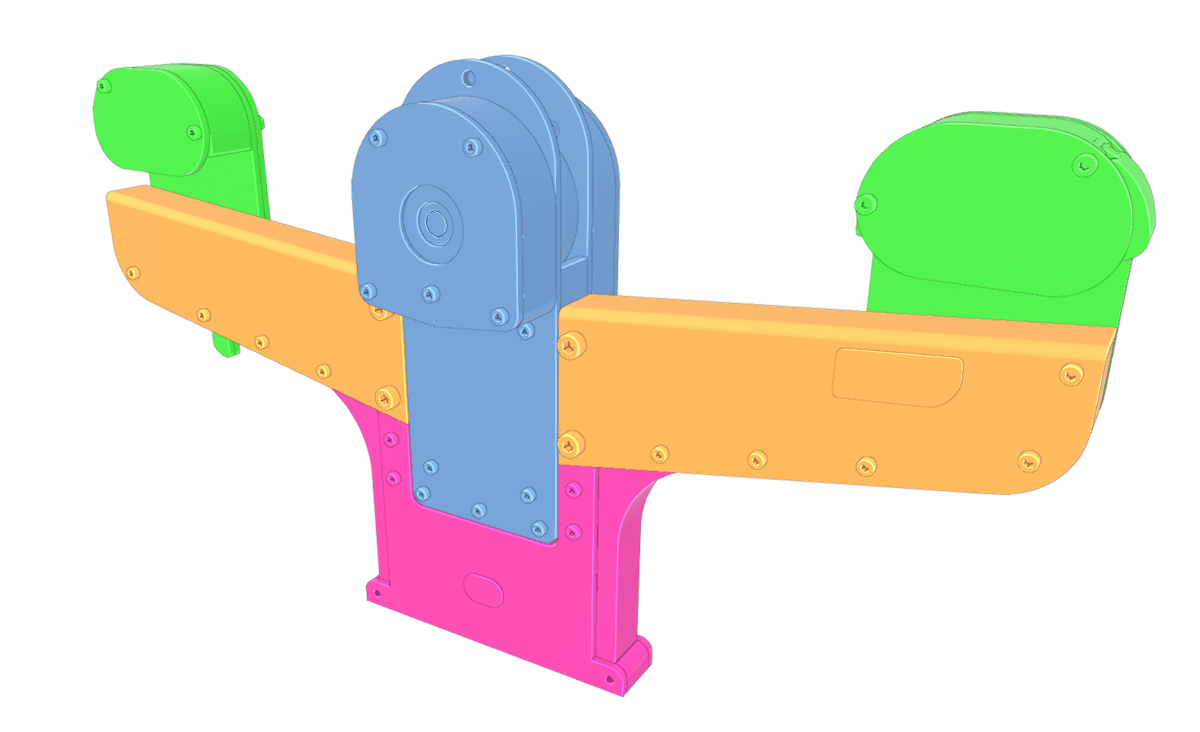
Carrier module (CARM)Link
The carrier module is the most complex component and it has a lot of different parts, to make the assembly process simpler this module is divided into different groups of parts that can be constructed independently and latter joint together.
- Head
- Body
- Arms (left and right)
- Hands (Left and right)
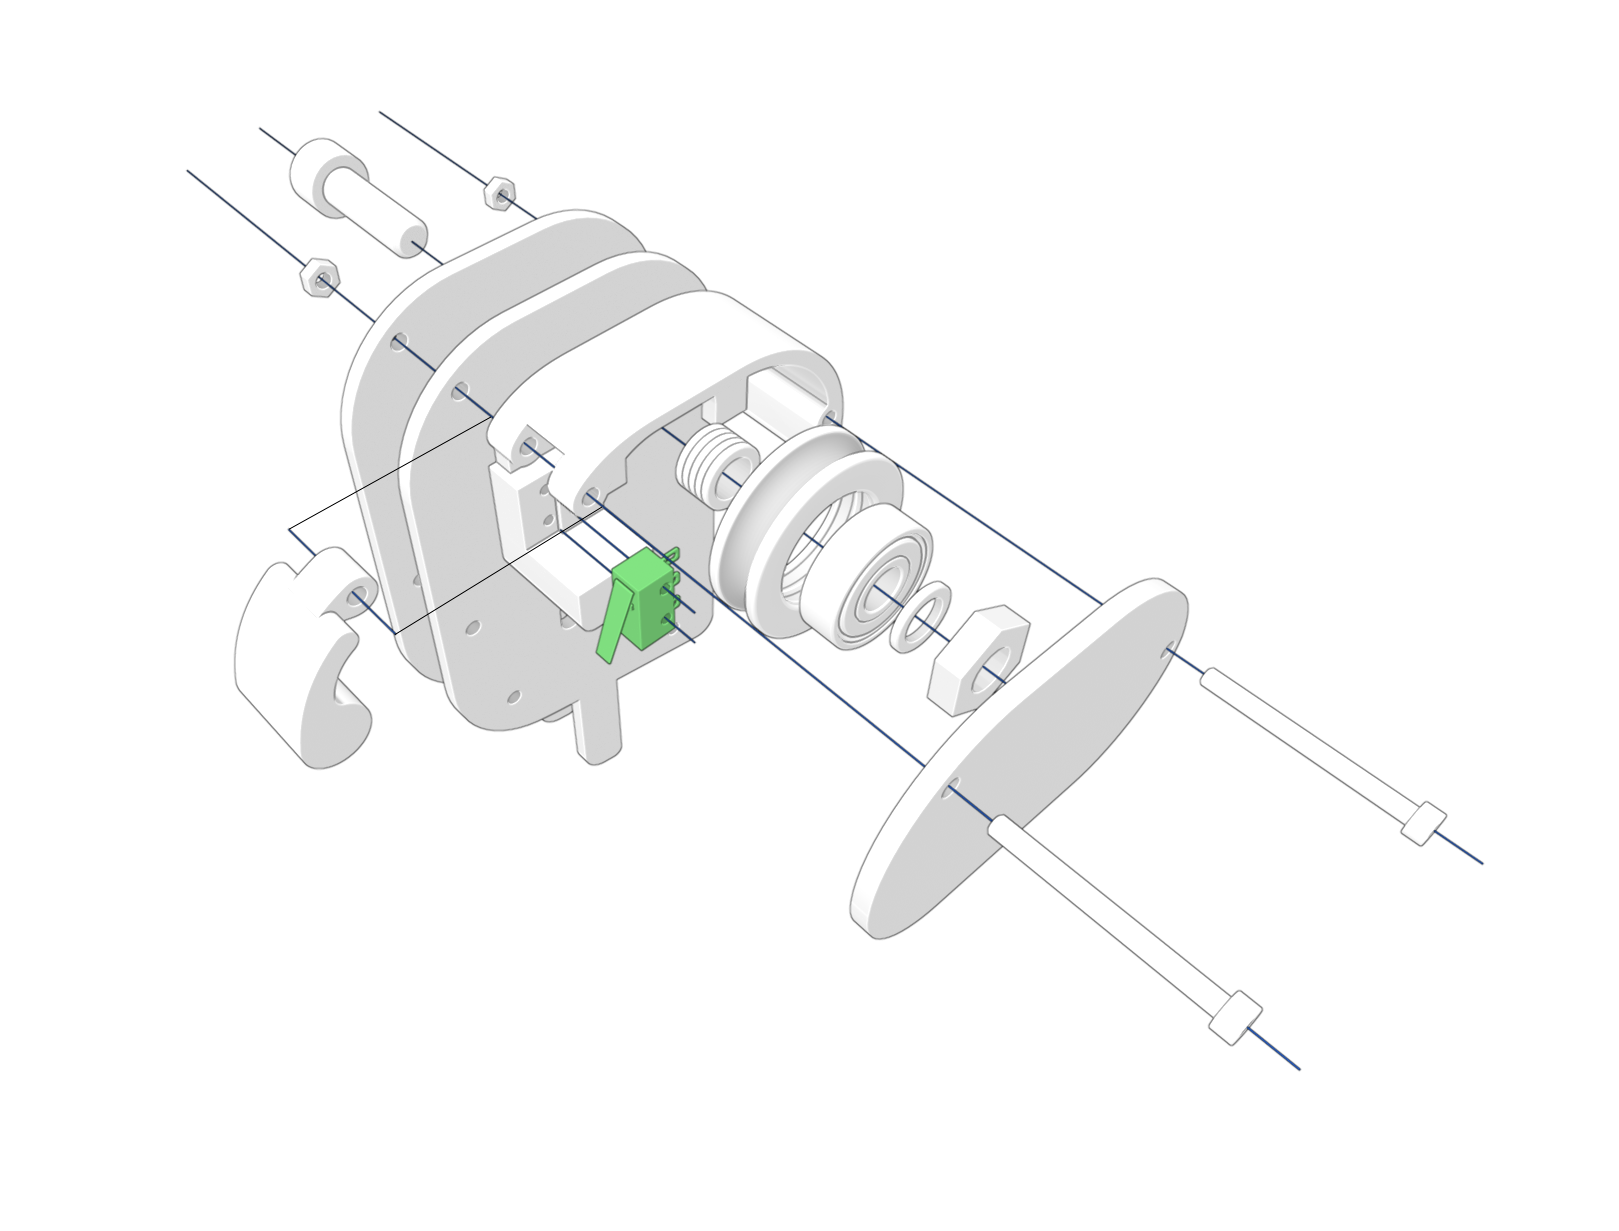
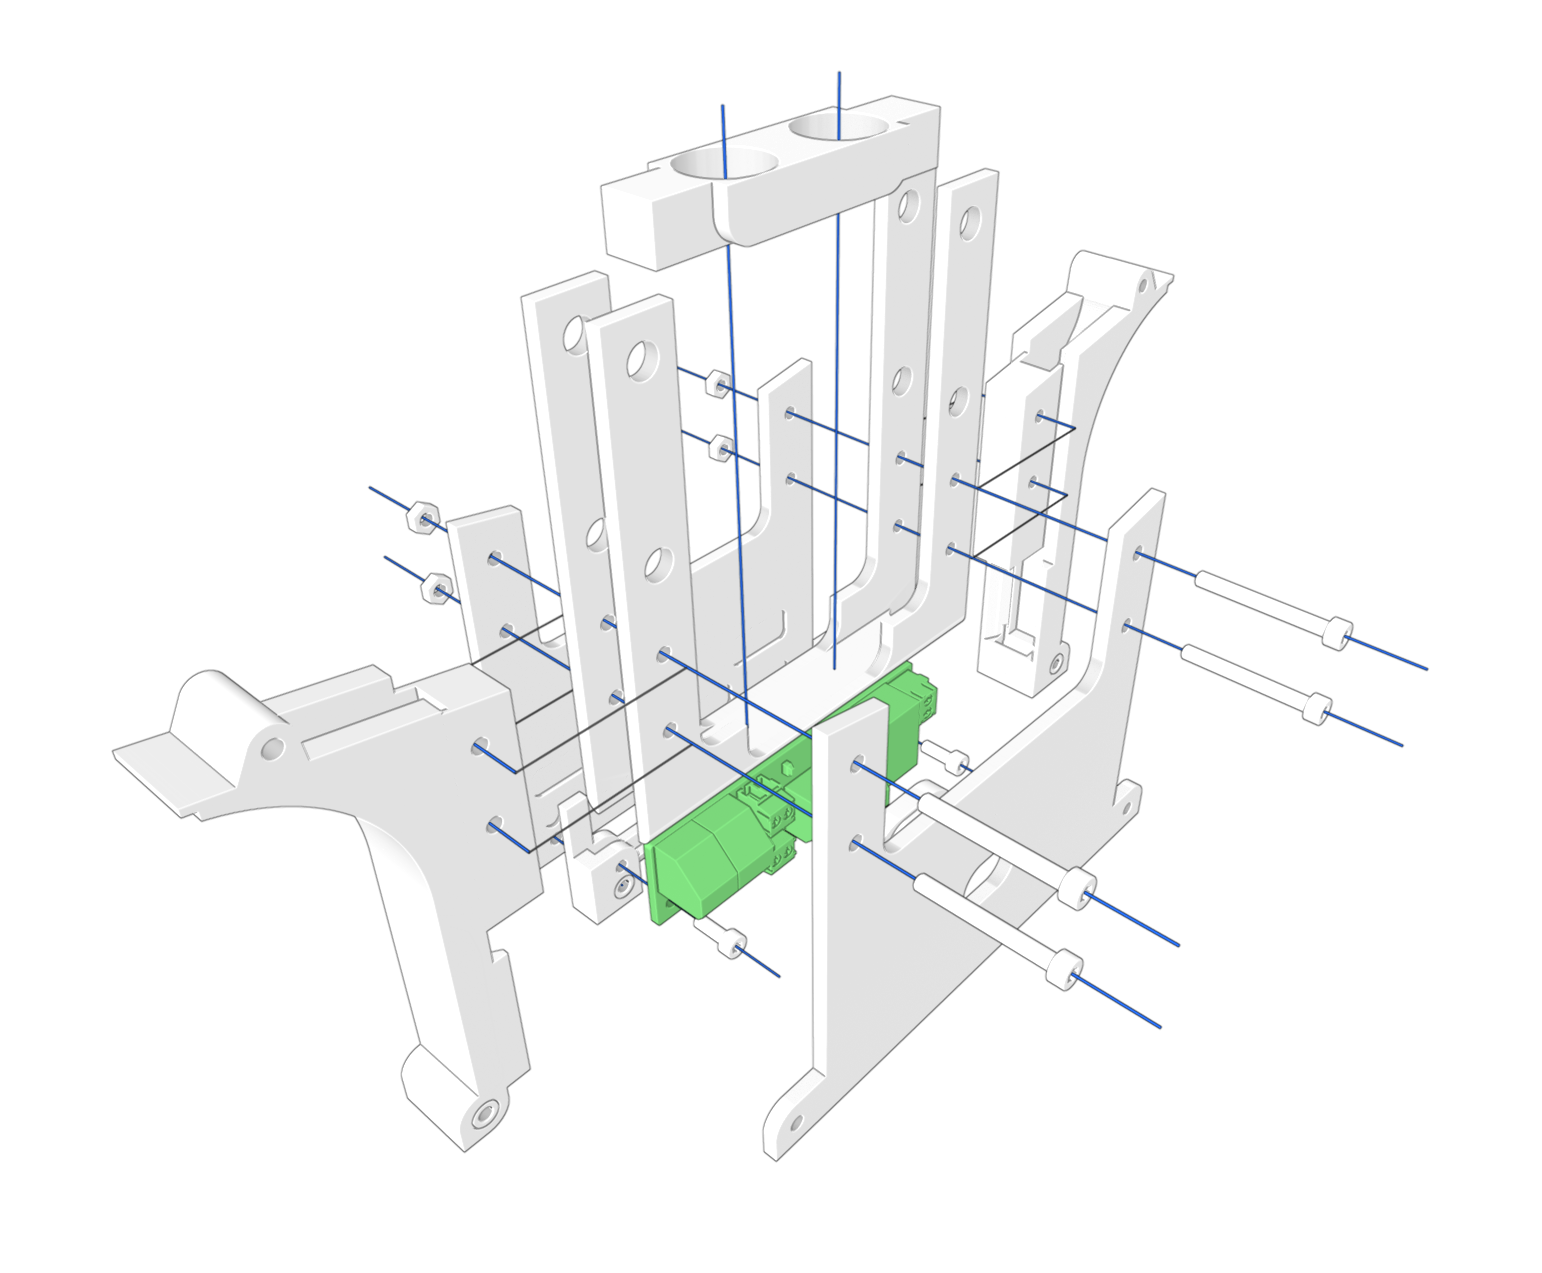
Hands (left and right)Link
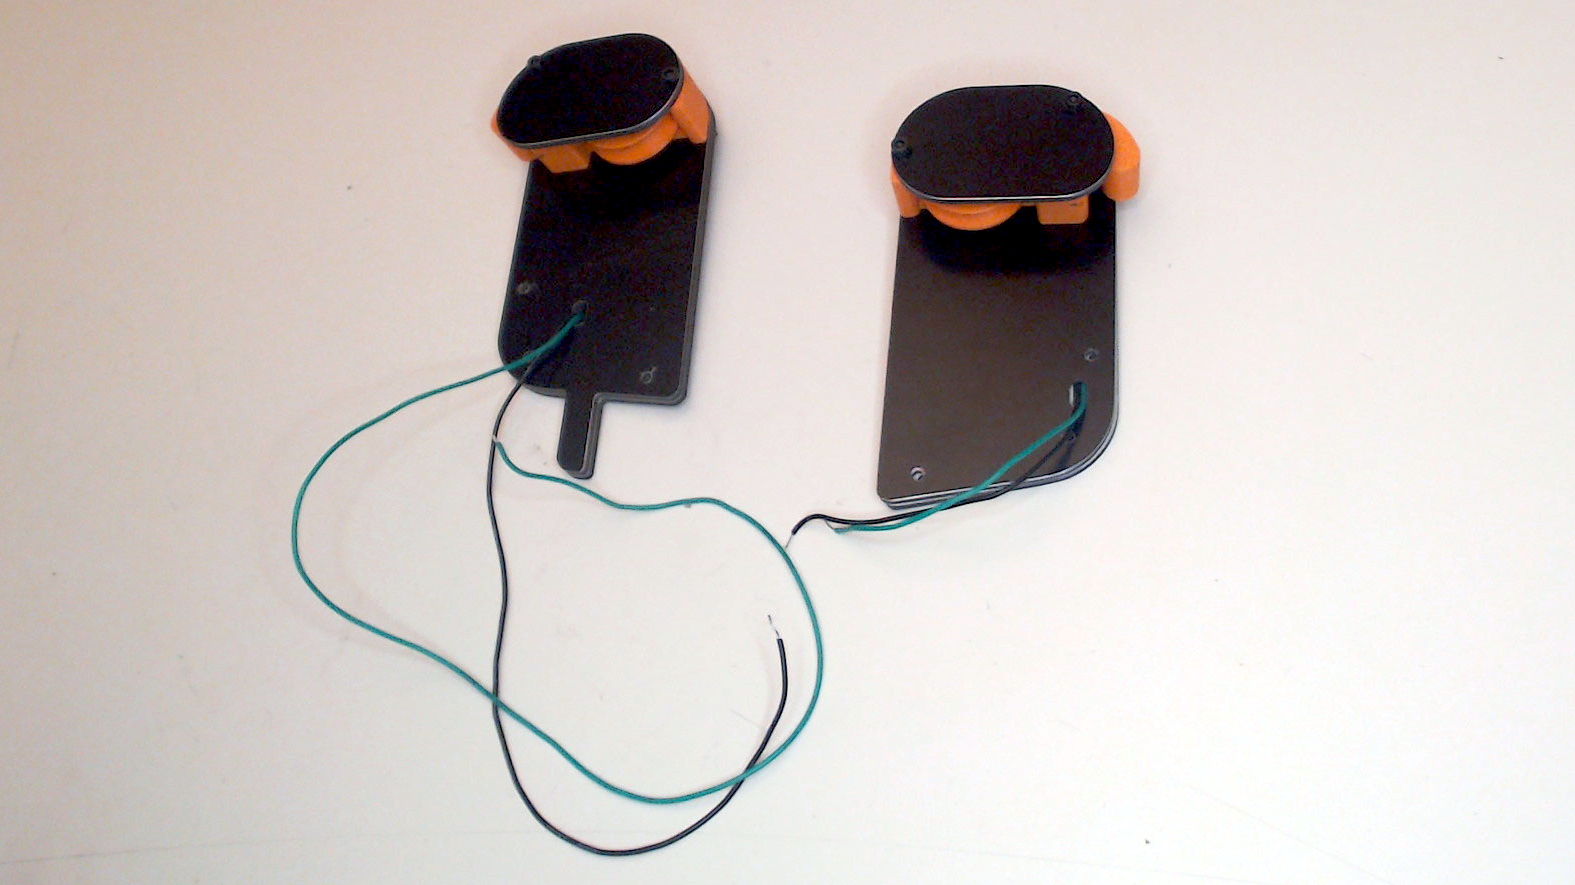
There are two hands on the CARM module, left and right. The assembly process for both is the same, so we only show it once. These pieces hold the pulleys that are in direct contact with the cable on both extremes. They also hold the two end stops switches that detect obstacles along the path.
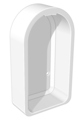
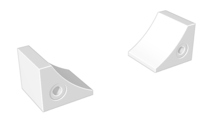
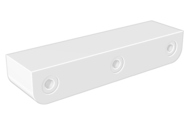
3d printed partsLink

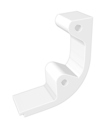
| 1x | Hand end stop trigger left |
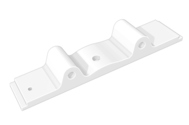
| 1x | Hand base left |
| 2x | Pulley 608zz |
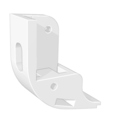
| 1x | Hand base right |
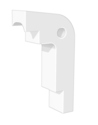
| 1x | Hand end stop trigger right |
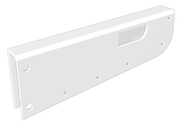
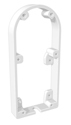
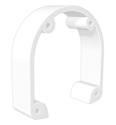
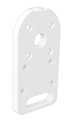
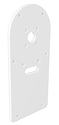
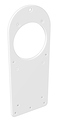
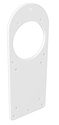
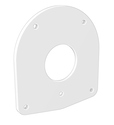
Milled Alucobond partsLink
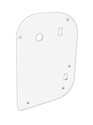
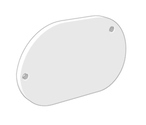
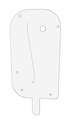

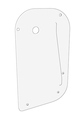
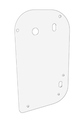
Just one set is needed either small or big, depending on cable tension (big is better for high tension).
Hardware partsLink
| 2 | 608zz bearing |
| 2 | D2F-01L-D3 End stop |
| 1 | Cable 28 AWG - Black - 450mm (left hand) |
| 1 | Cable 28 AWG - Green - 450mm (left hand) |
| 1 | Cable 28 AWG - Black - 110mm (right hand) |
| 1 | Cable 28 AWG - Green - 110mm (right hand) |
| 10 | Washer M8x1.5 |
| 2 | Screw M8x25 |
| 2 | Nut M8 |
| 4 | Screw M3x32 |
| 4 | Nut M8 |
| 2 | Screw M2x10 |
| 2 | Nut M2 |
AssemblyLink
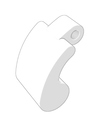
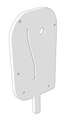
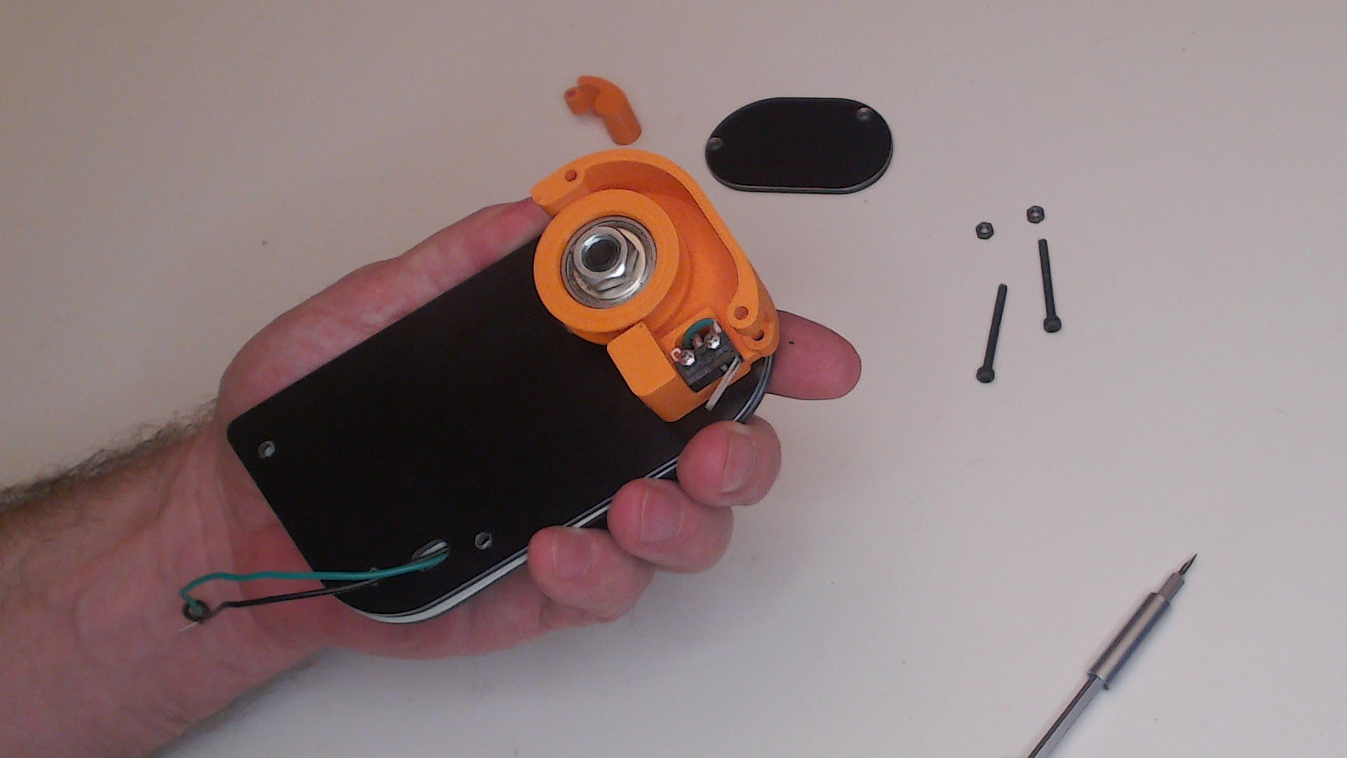
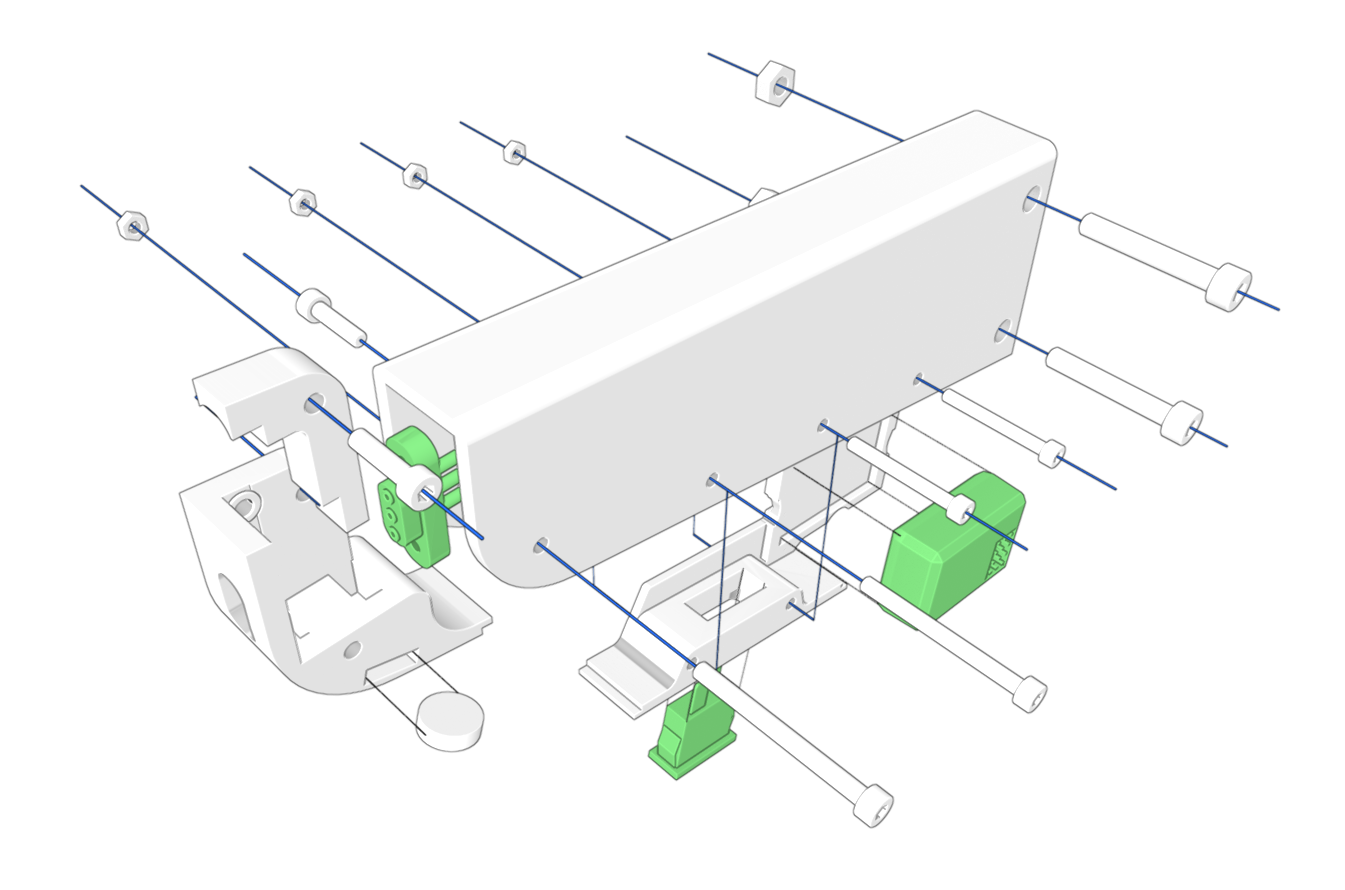
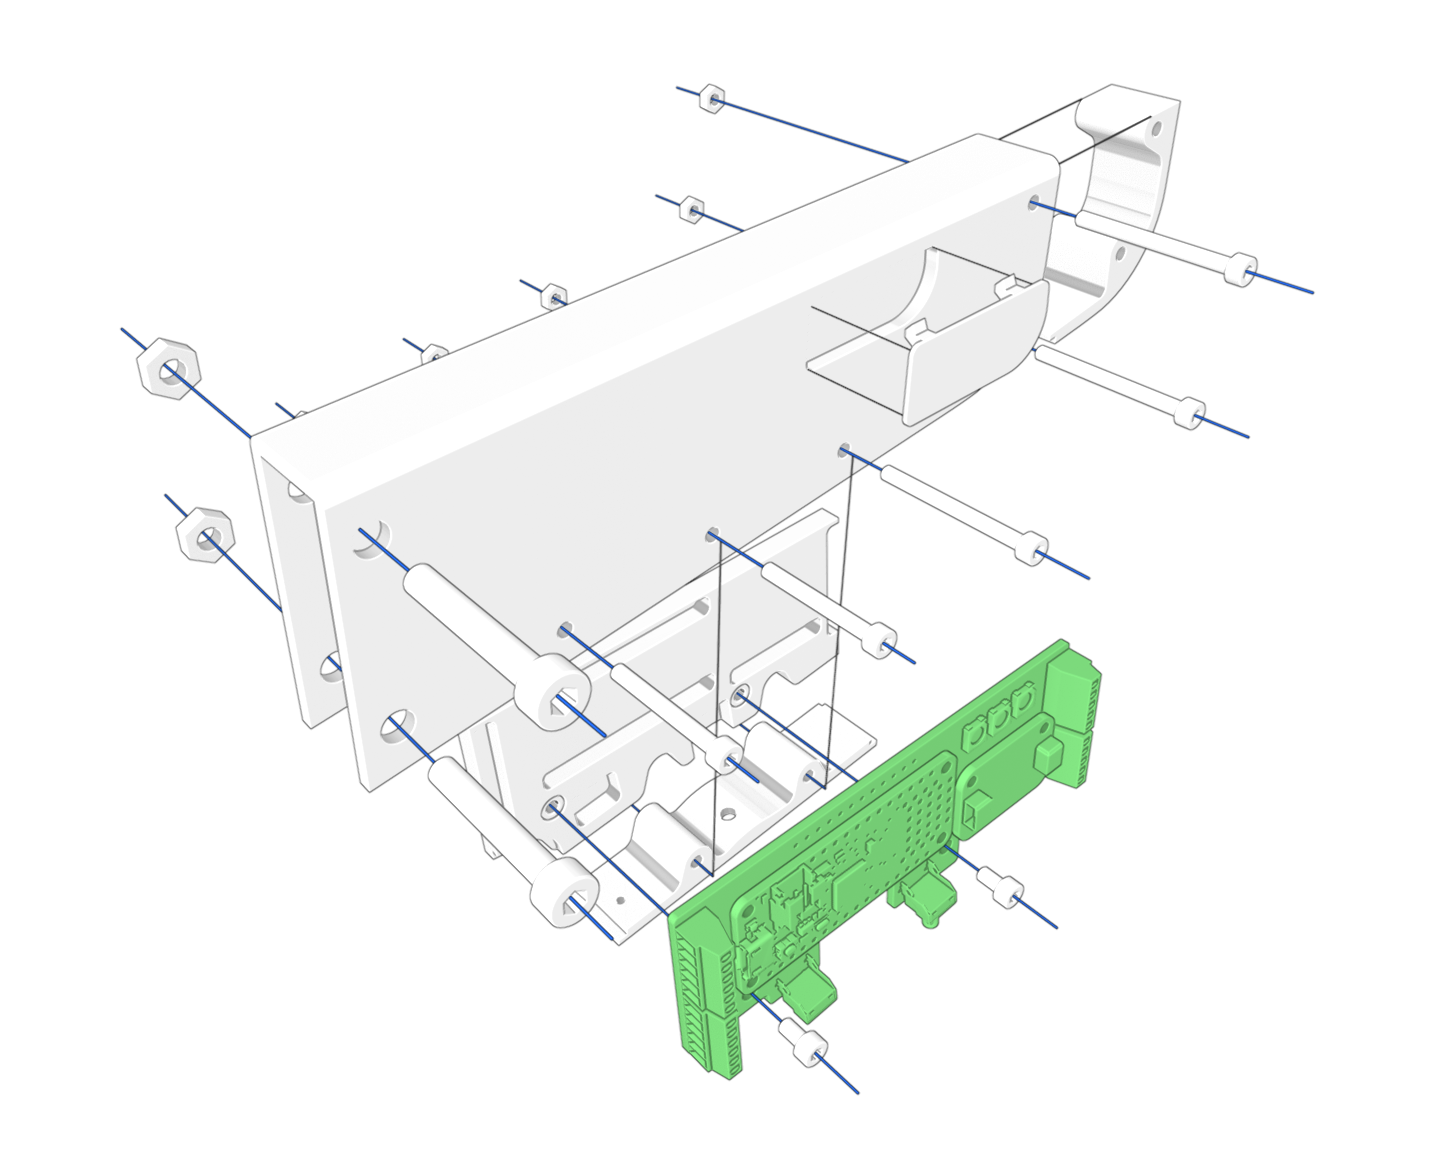
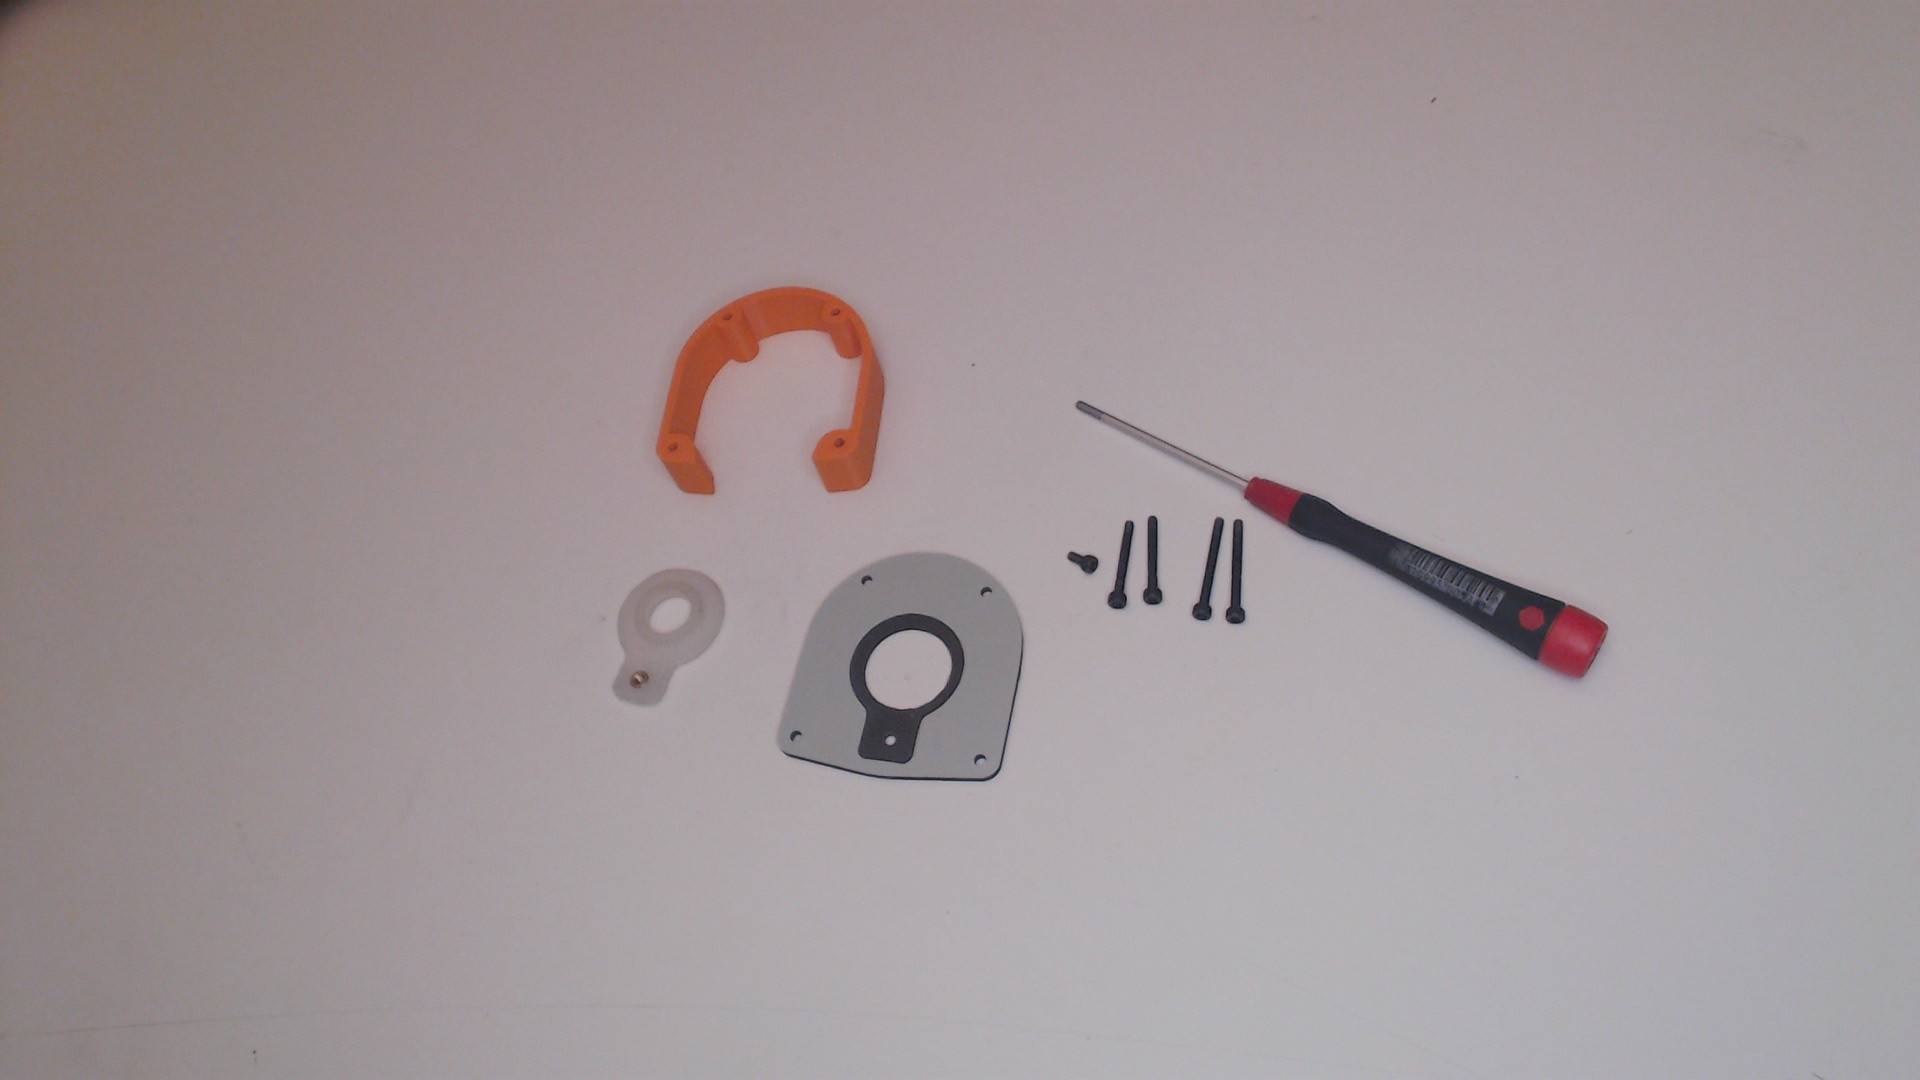
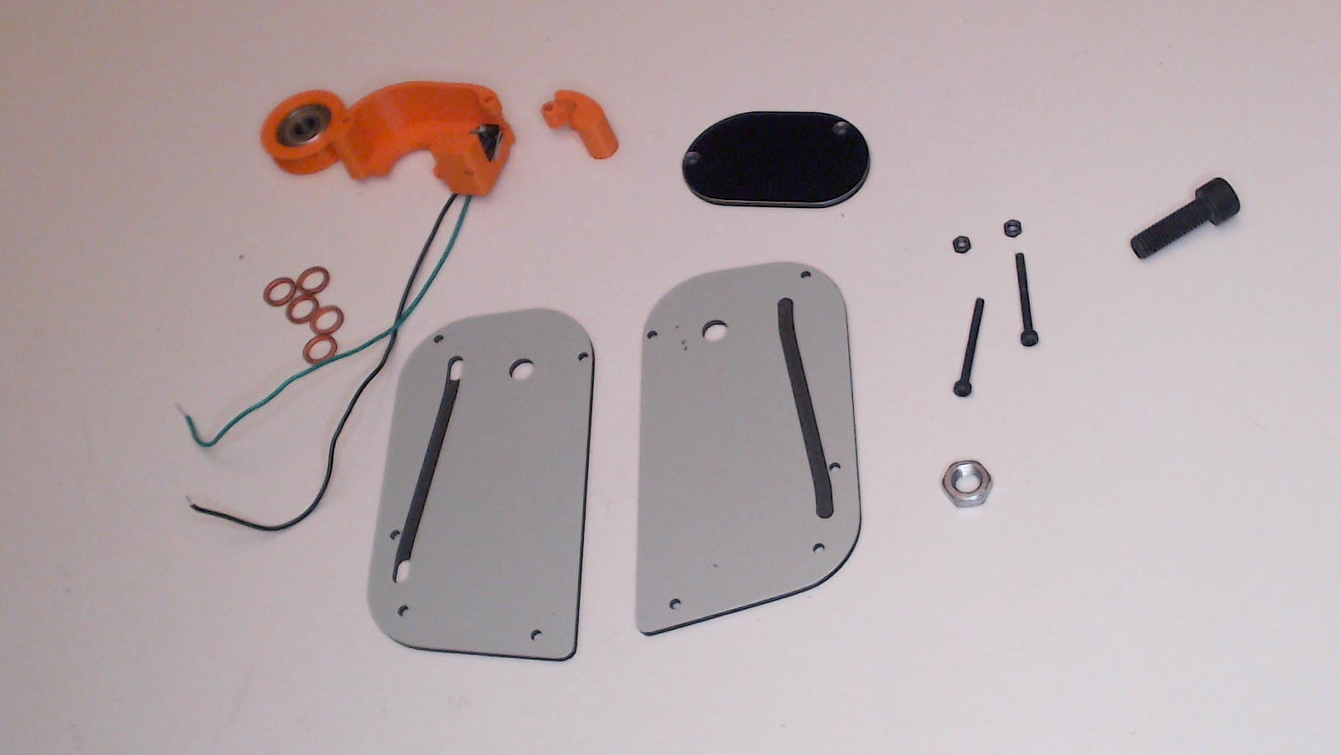 All the needed pieces, to build the right hand.
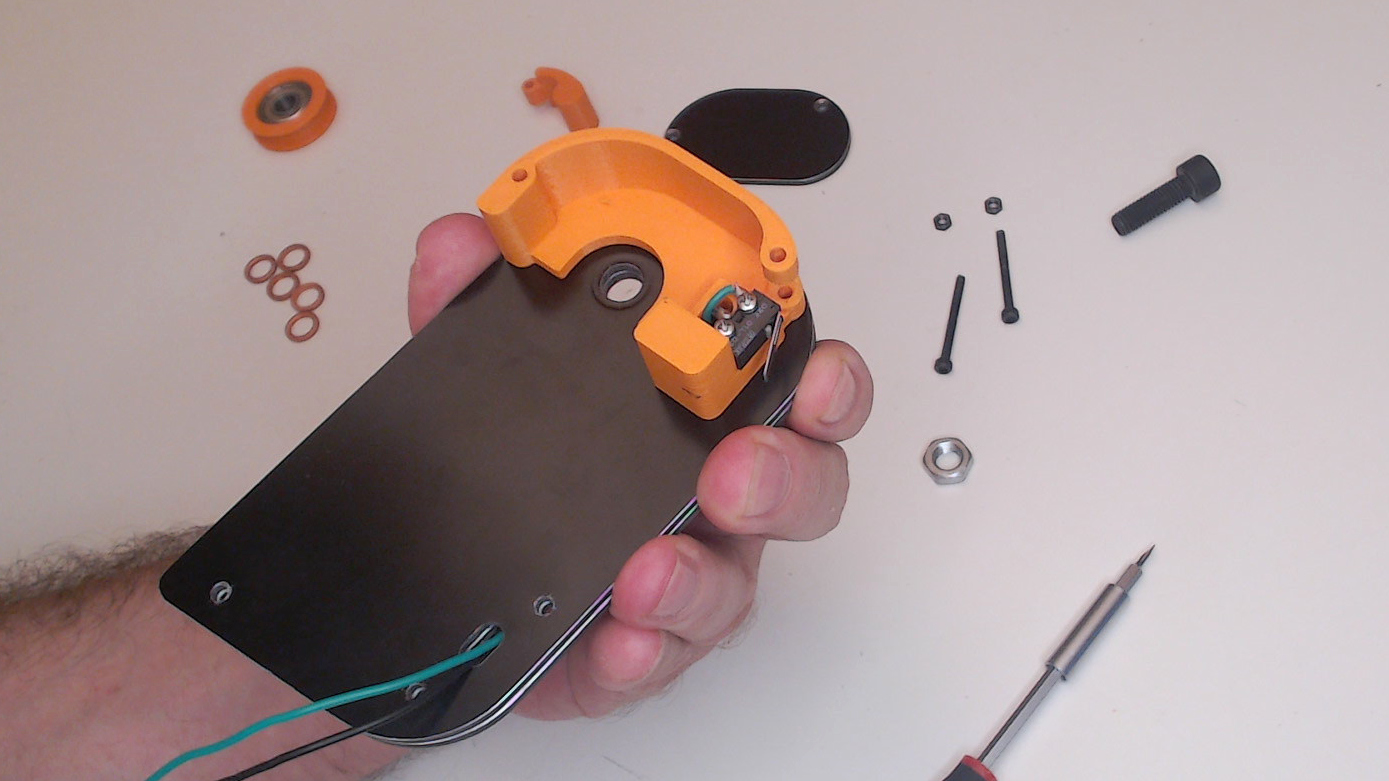
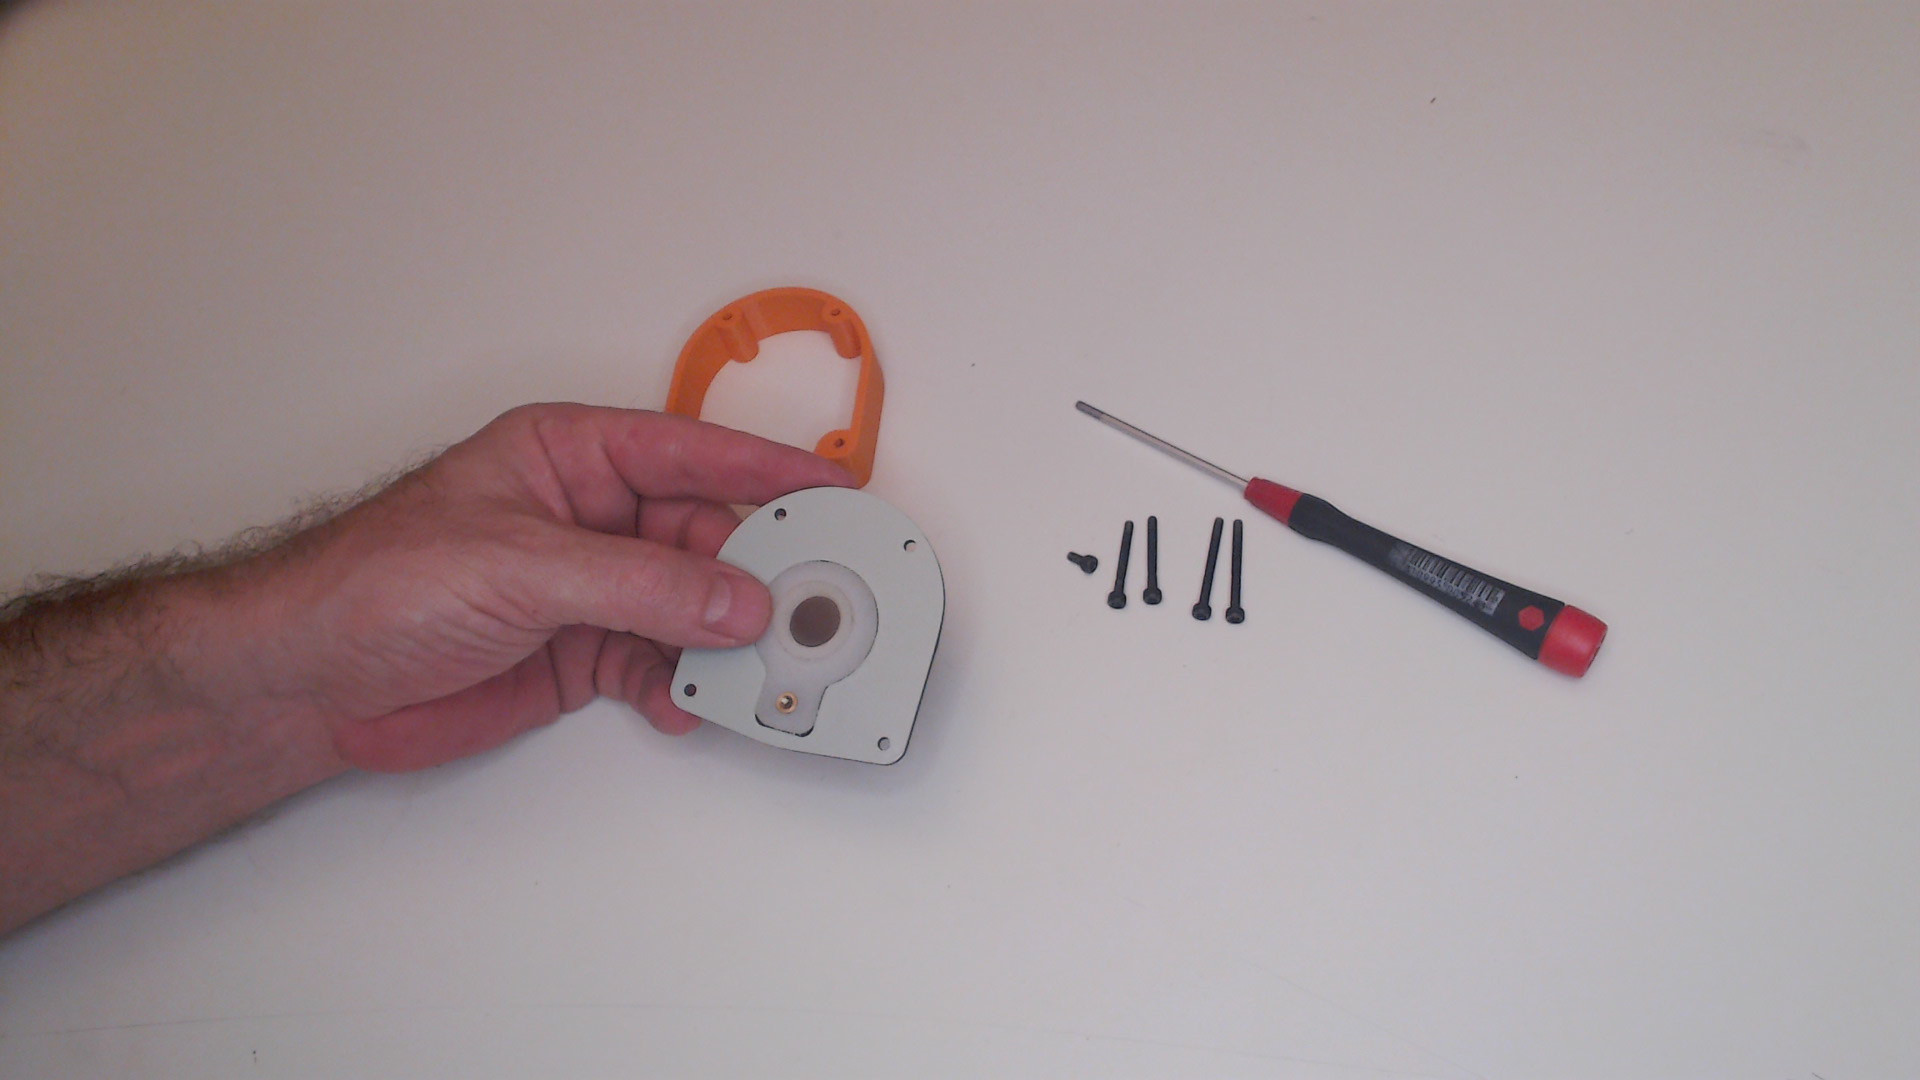
 First install the end-stop (with the cables already soldered to it) inserting first the M2 nuts in the hexagonal holes.
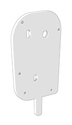
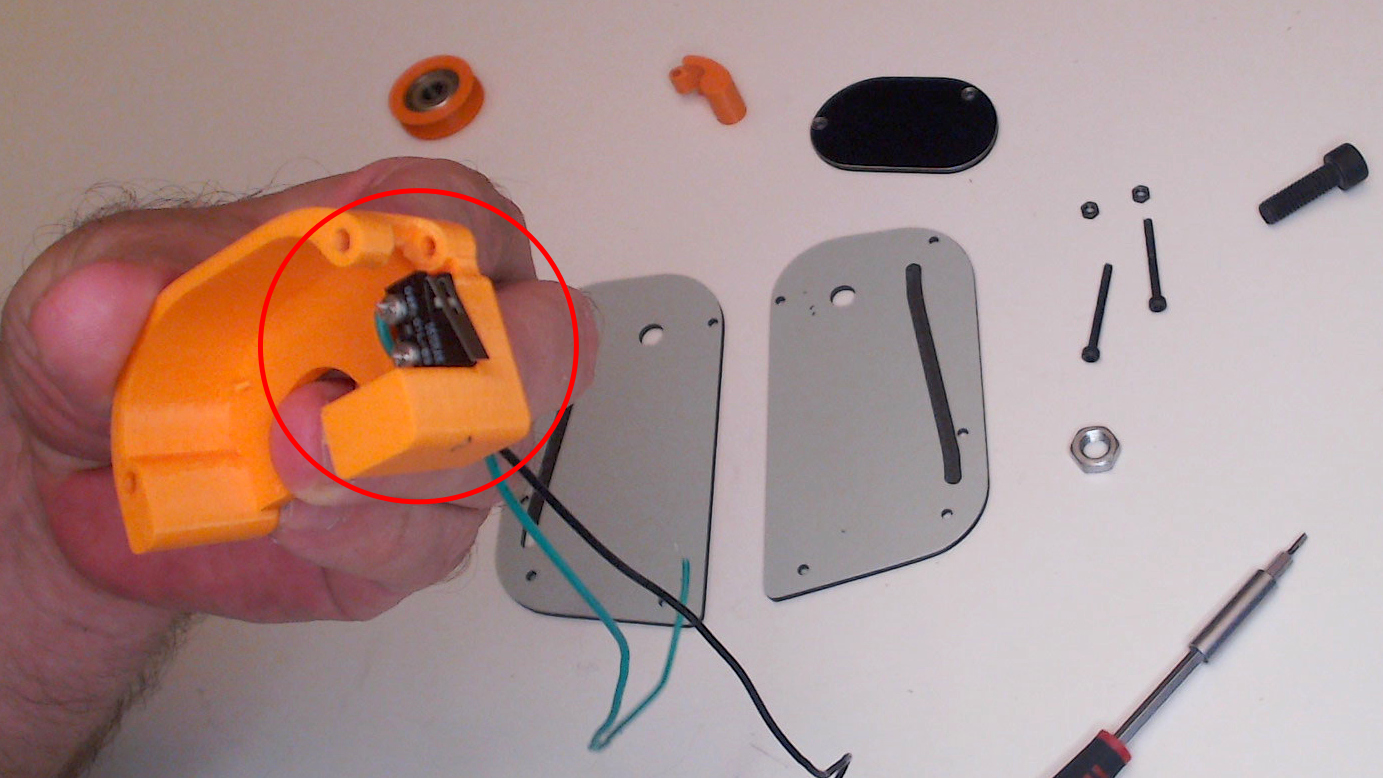
 Pass the cables through the hole to the back of the printed piece.
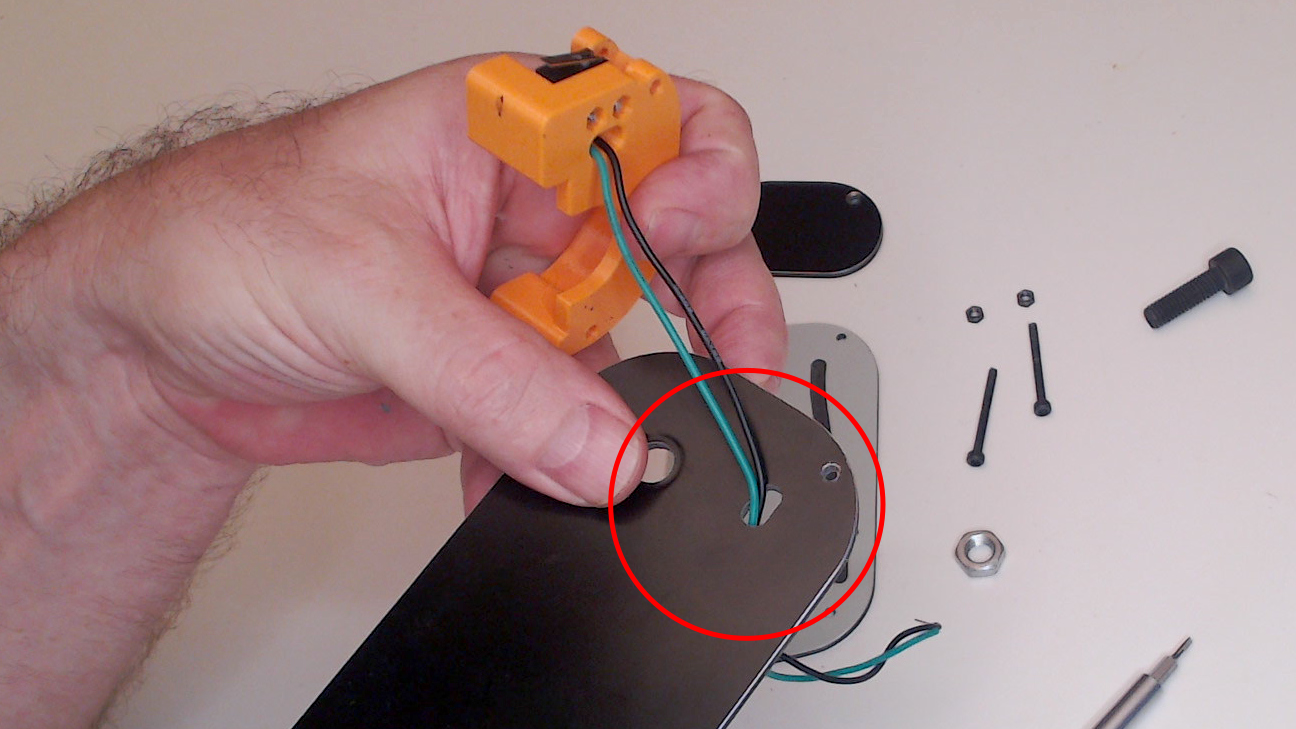 And through the front hole in the alucobond piece.
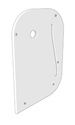
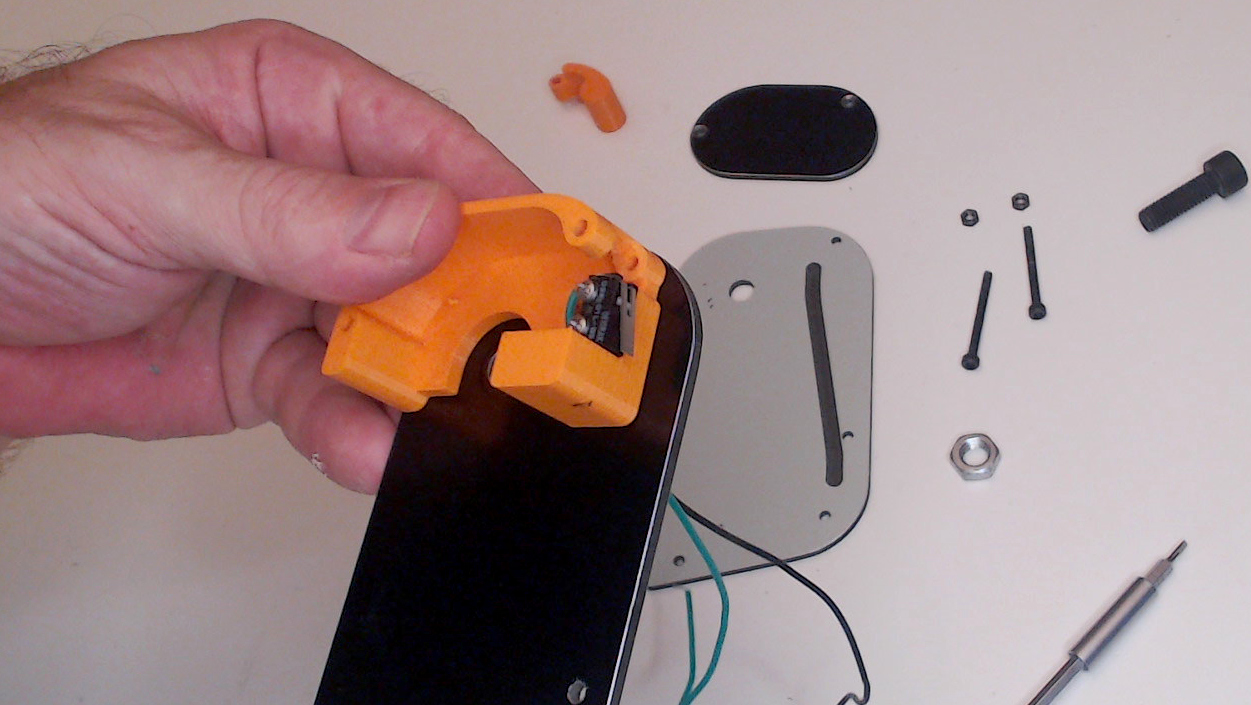 Align the two holes on both pieces.
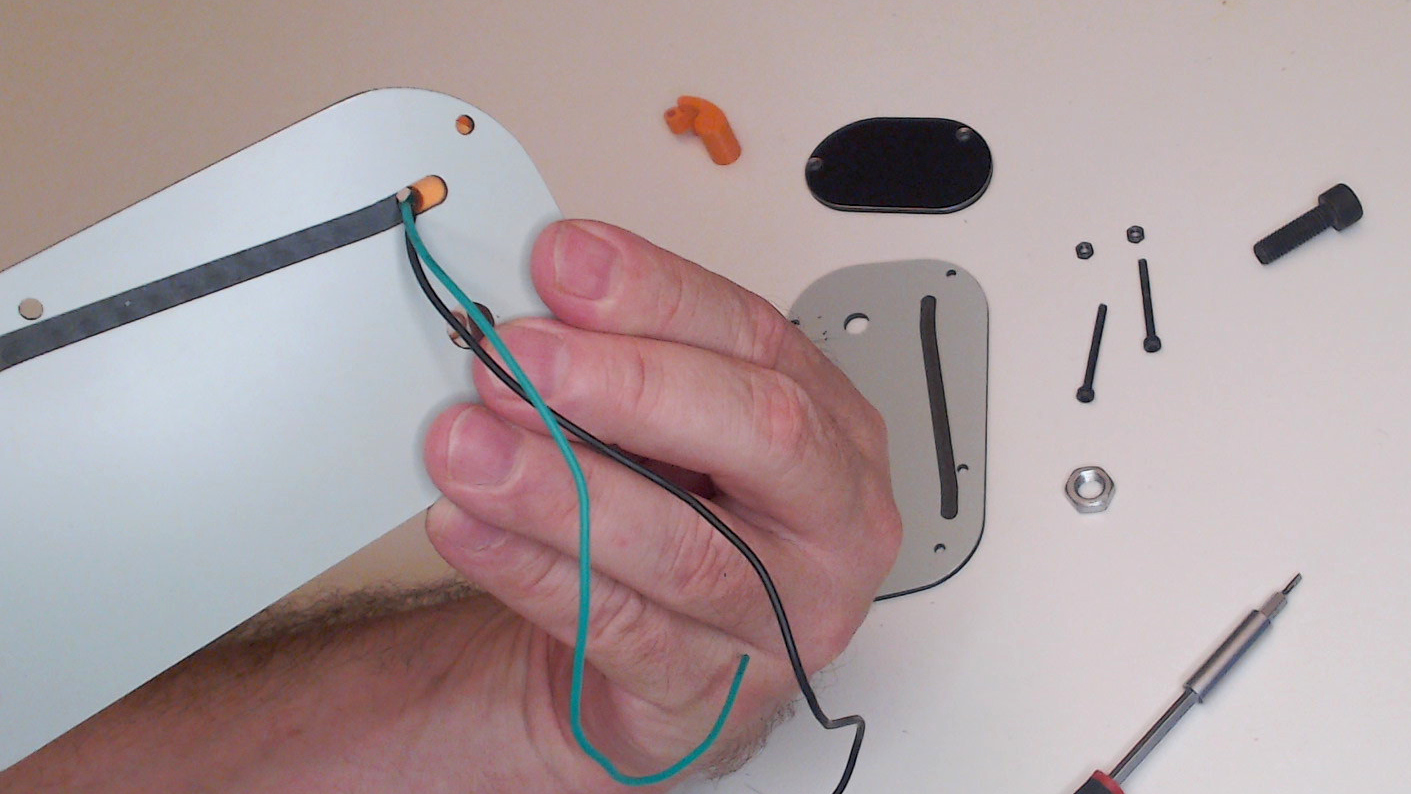
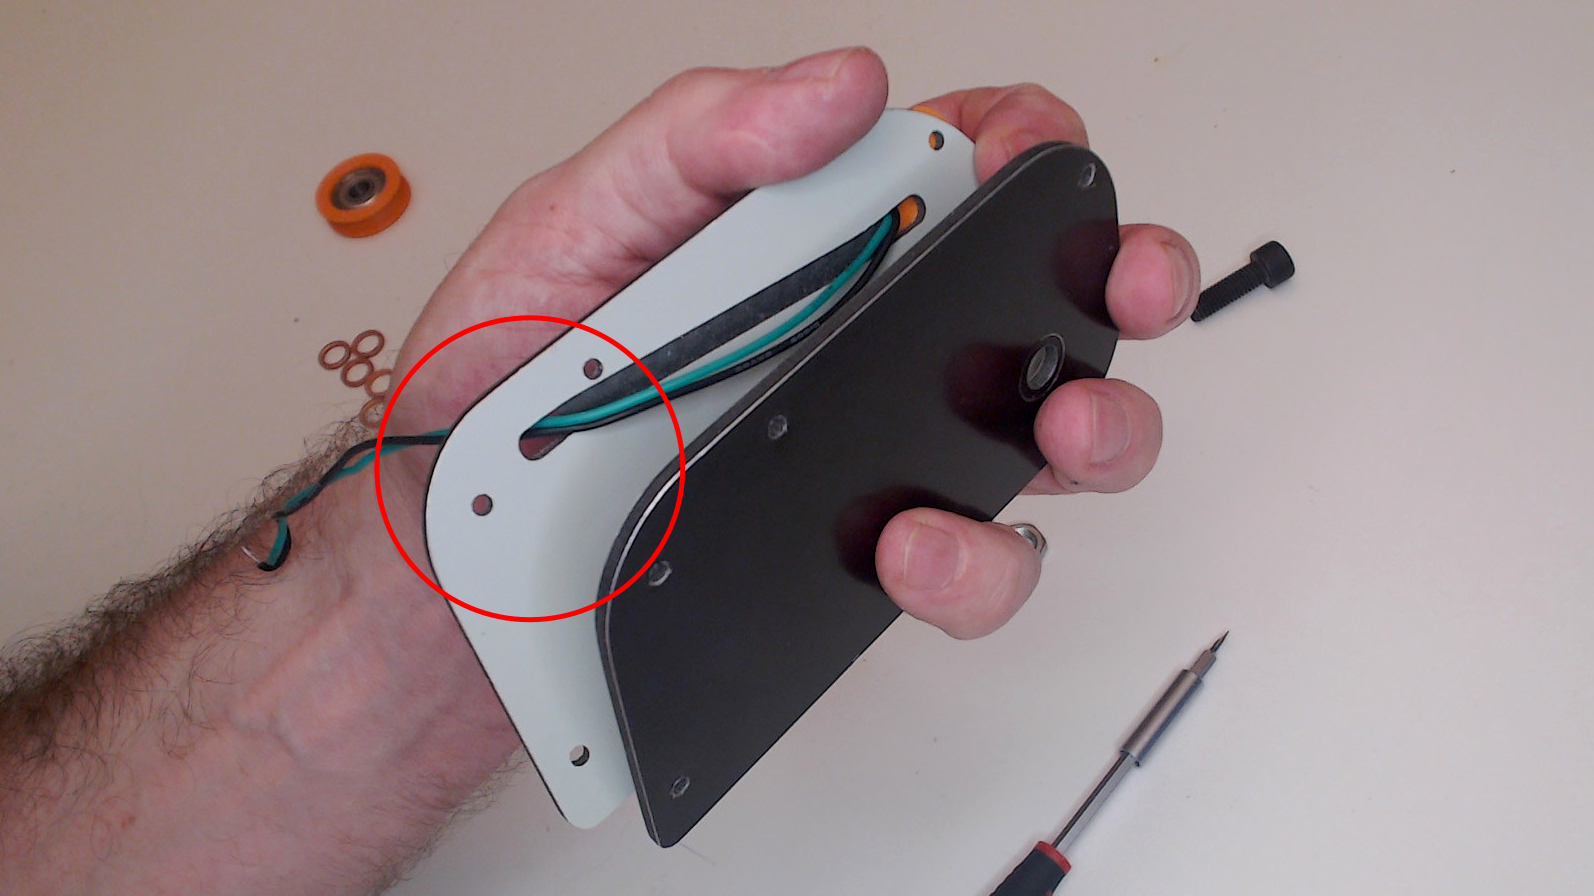 Pass the cable back to the front through the hole and align it with the pocket on the alucobond piece.
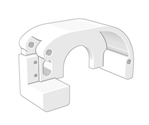
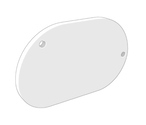
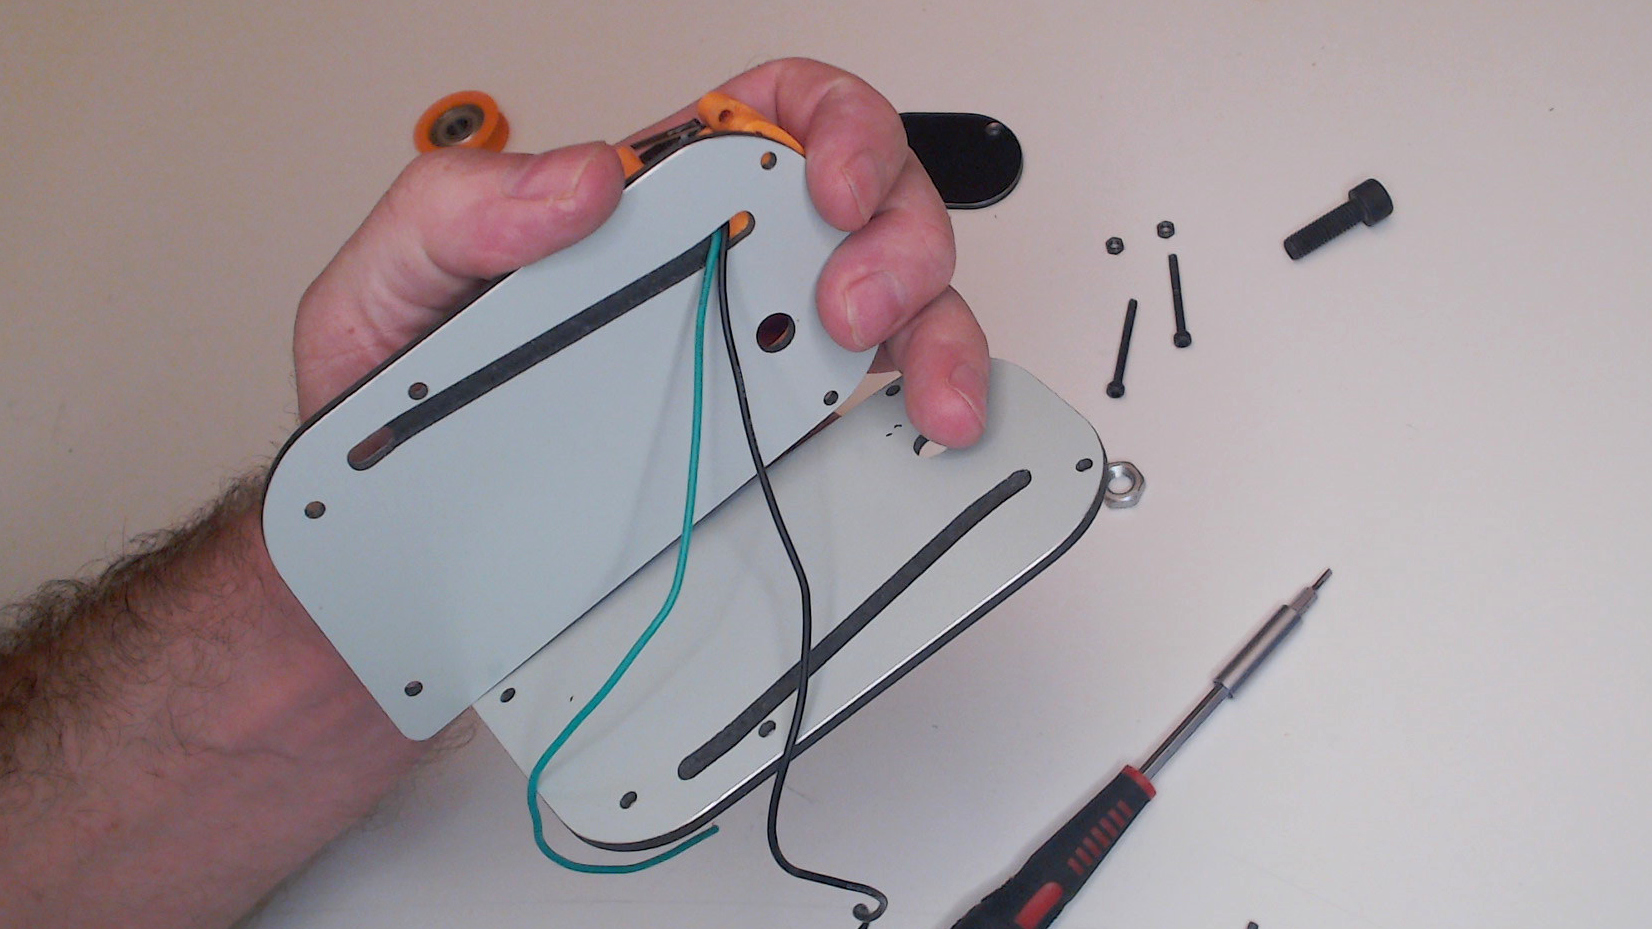
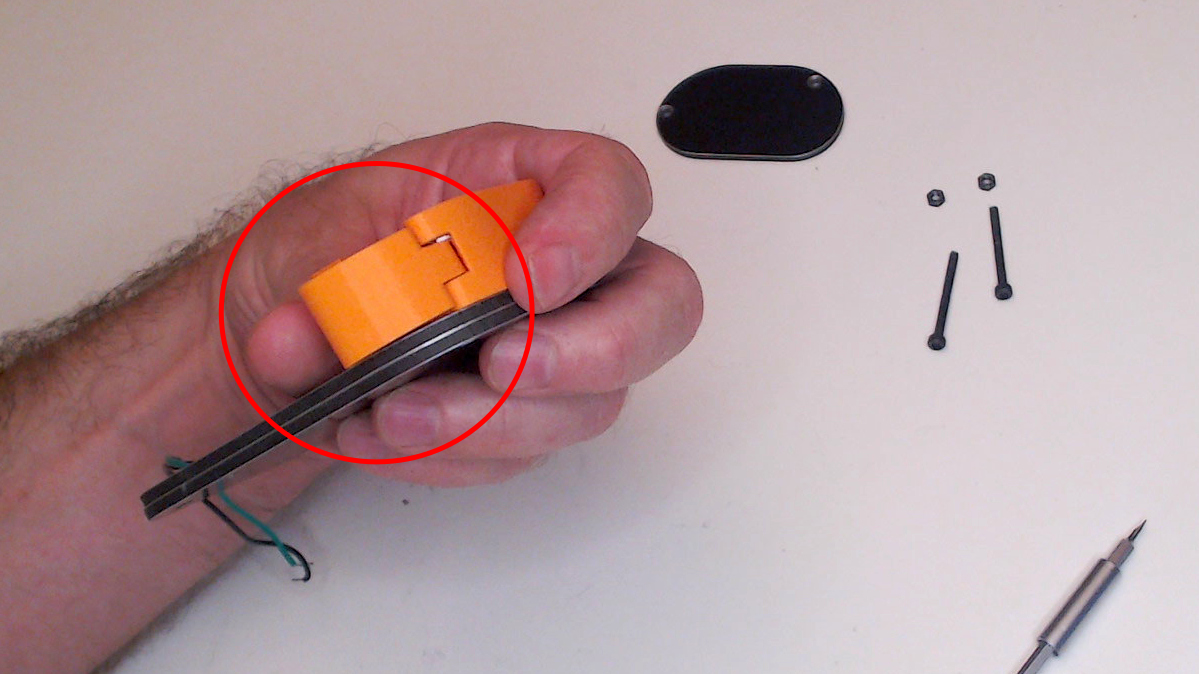
 Align and put together the two aluminum parts making sure not to pinch the cables.
After joining them check if the cable can move freely.
Align and put together the two aluminum parts making sure not to pinch the cables.
After joining them check if the cable can move freely.
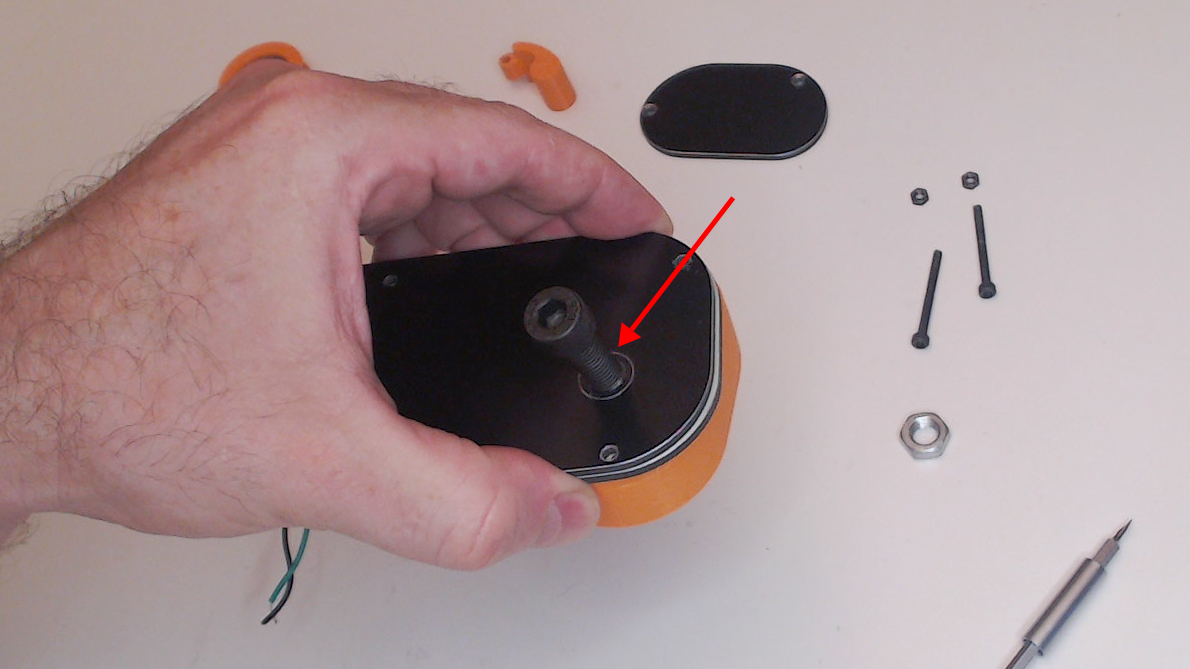 Insert the M8 screw.
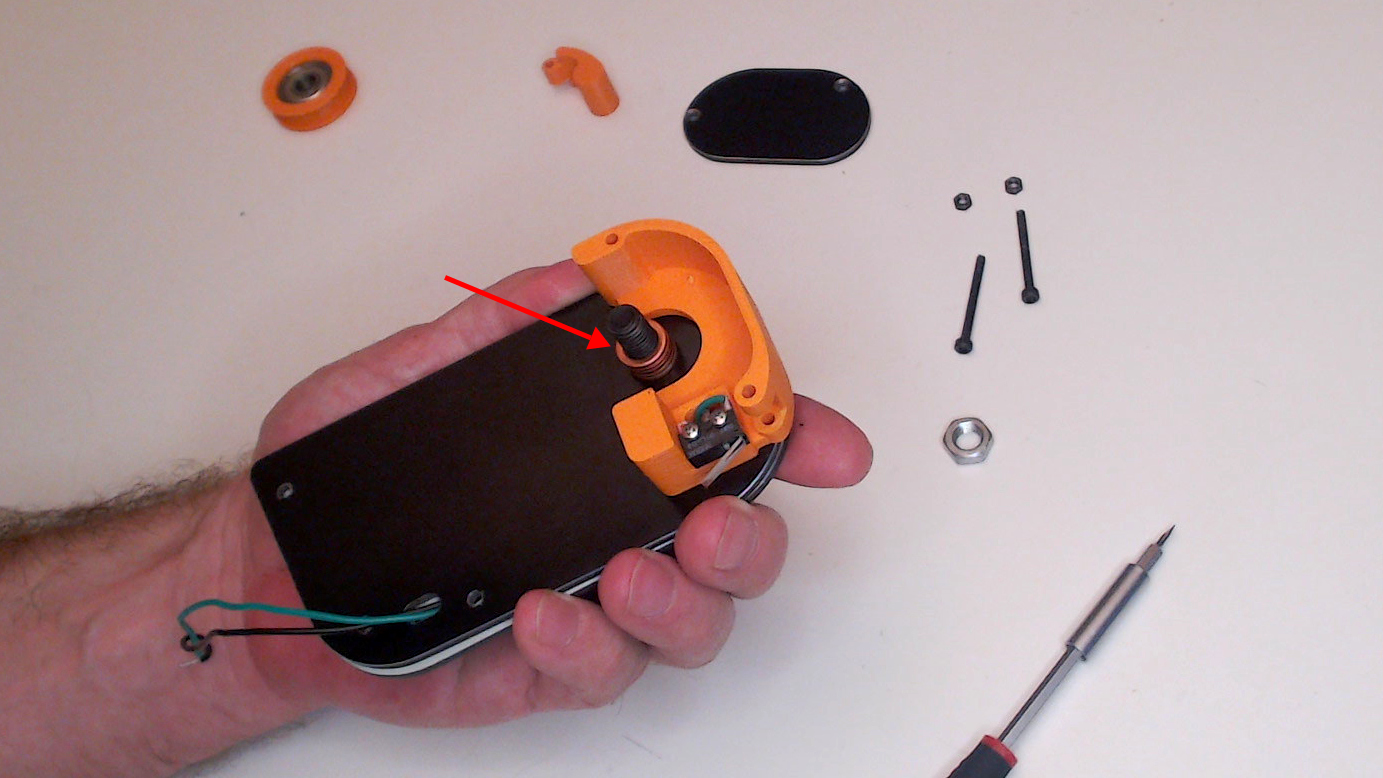 Place the 5 washers on the screw.
 Before this step you need to pressure fit the 608zz bearing in to the 3d printed pulley, it can be done easily on a bench press, be sure to slide it until the end.
We recommend applying a couple of cyanoacrylate glue drops between the two pieces.
Before this step you need to pressure fit the 608zz bearing in to the 3d printed pulley, it can be done easily on a bench press, be sure to slide it until the end.
We recommend applying a couple of cyanoacrylate glue drops between the two pieces.
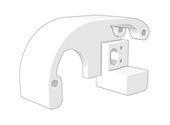
Insert the bearing and the printed pulley on the M8 screw and fix it with the nut, be sure to apply enough pressure.
 Hold the end-stop trigger printed piece in place.
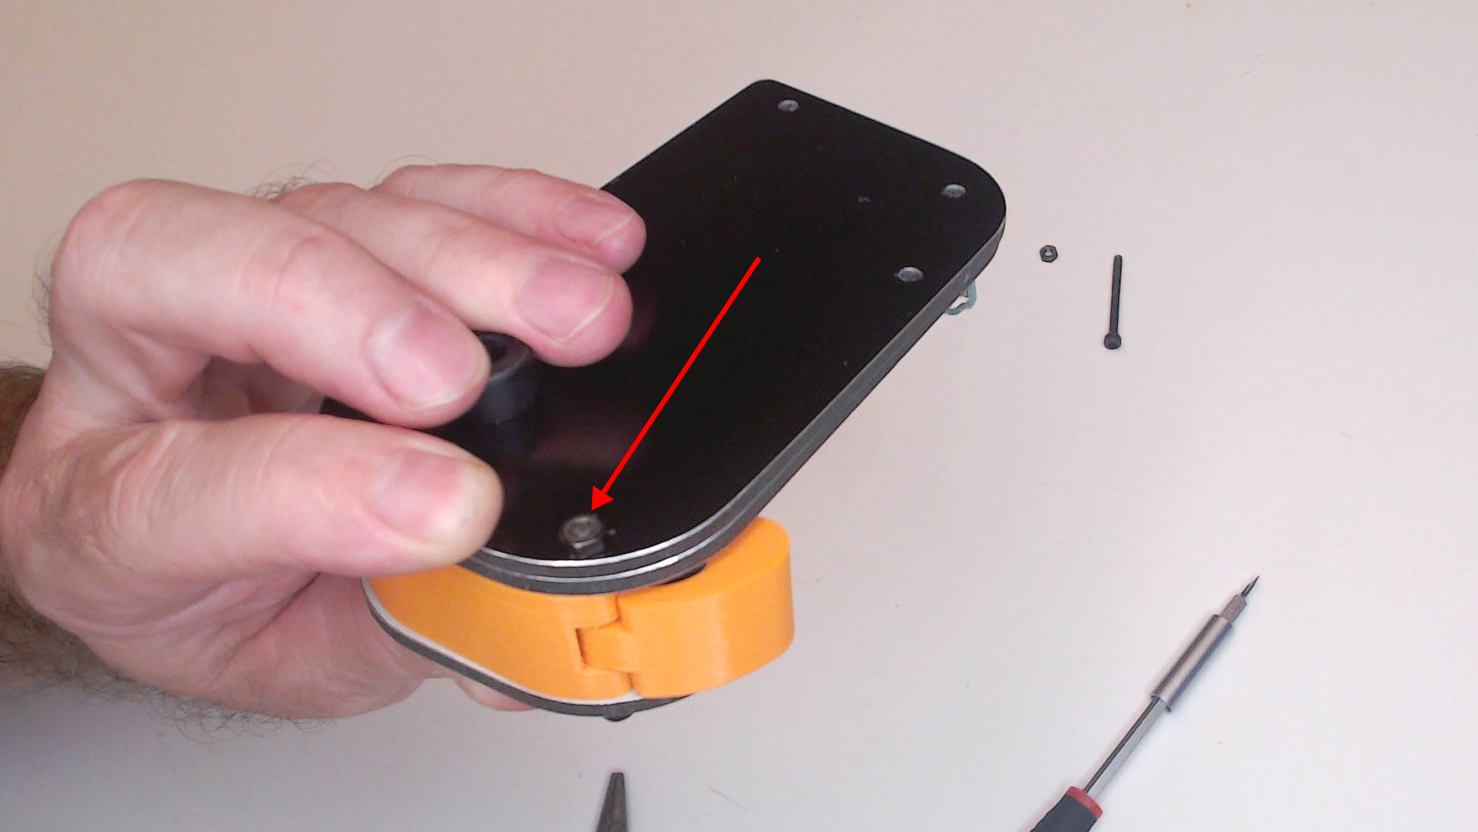
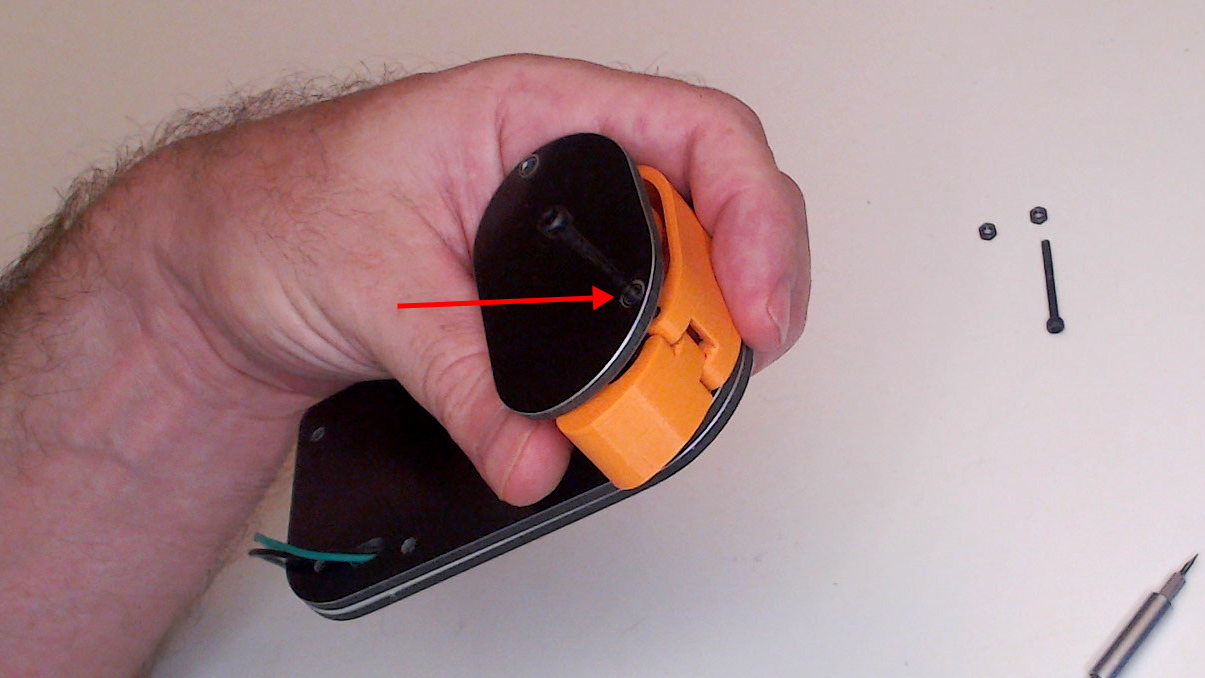 Align the aluminum cap and insert the screw.
 While you push the screw be sure to keep the trigger aligned.
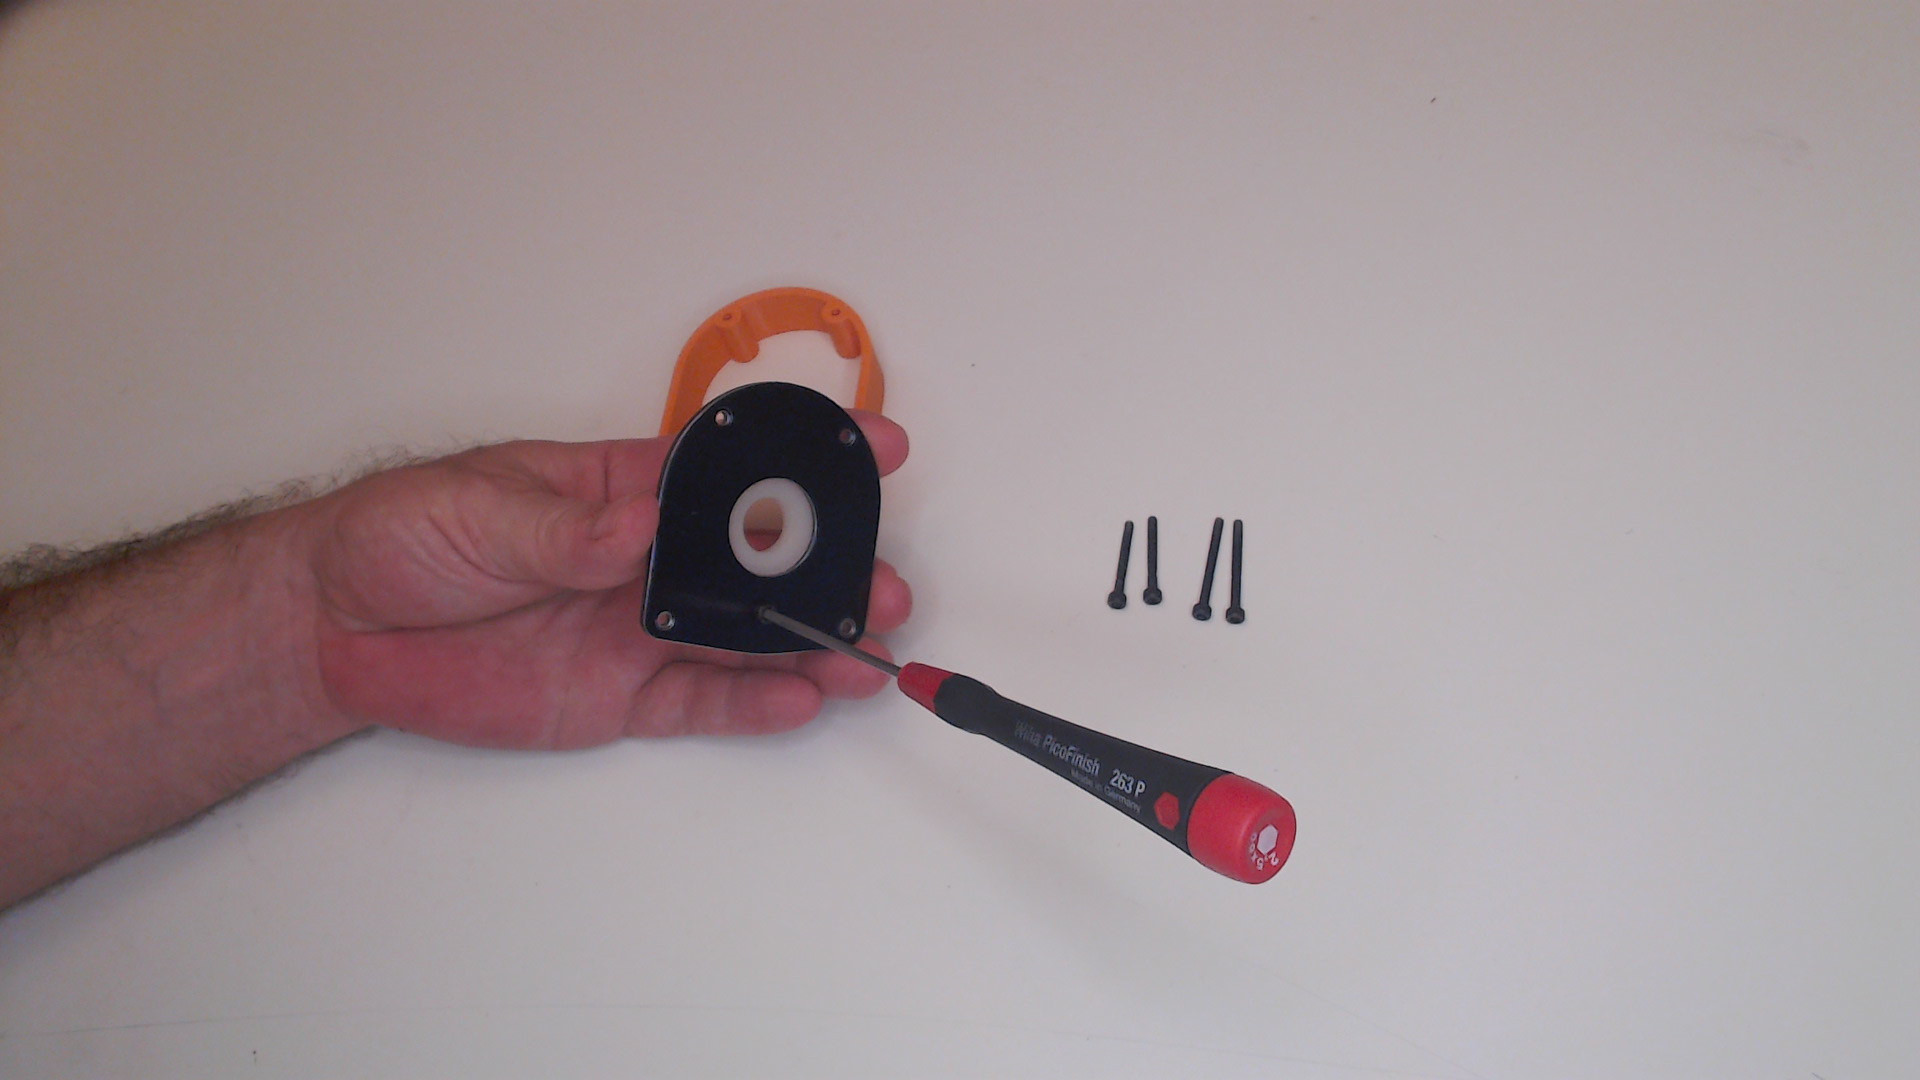
 Fix the nut on the back side.
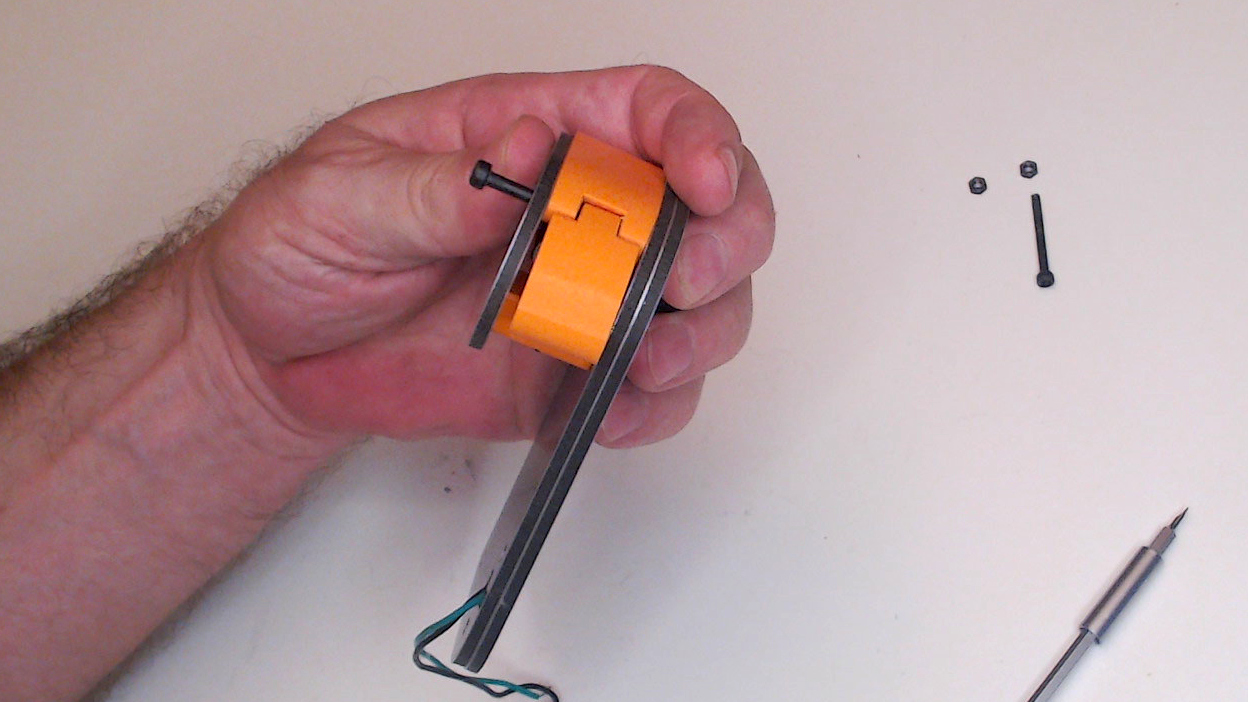
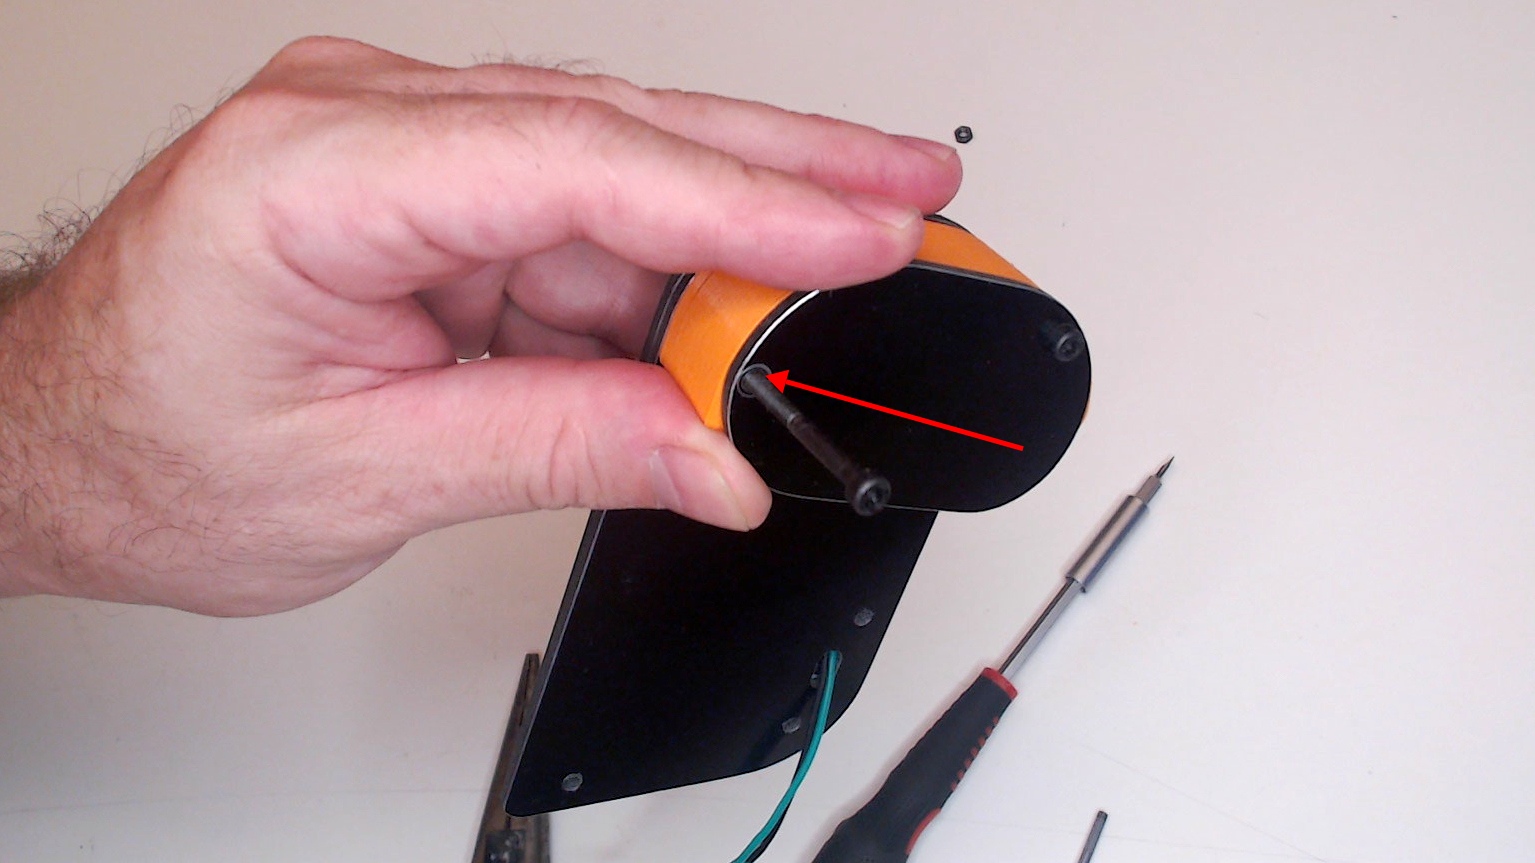 While keeping aligned the printed piece insert the other screw.
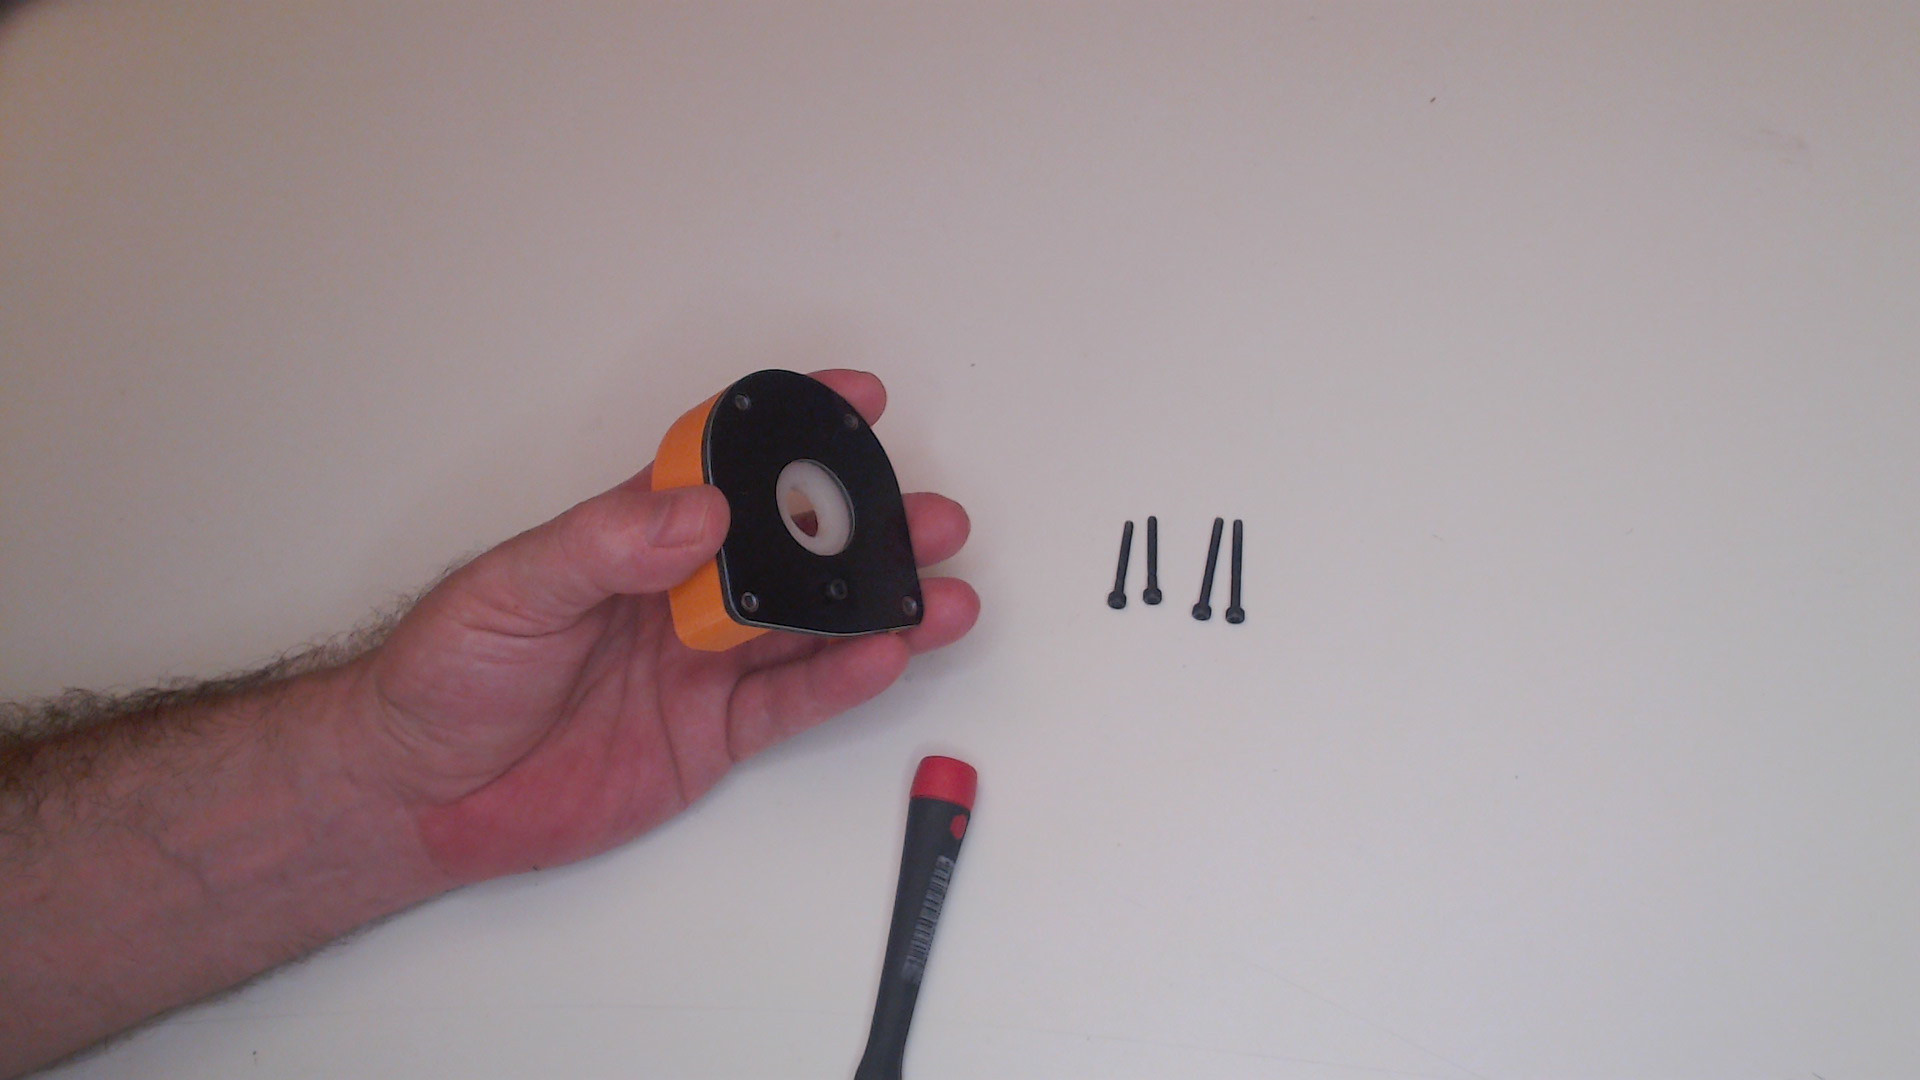
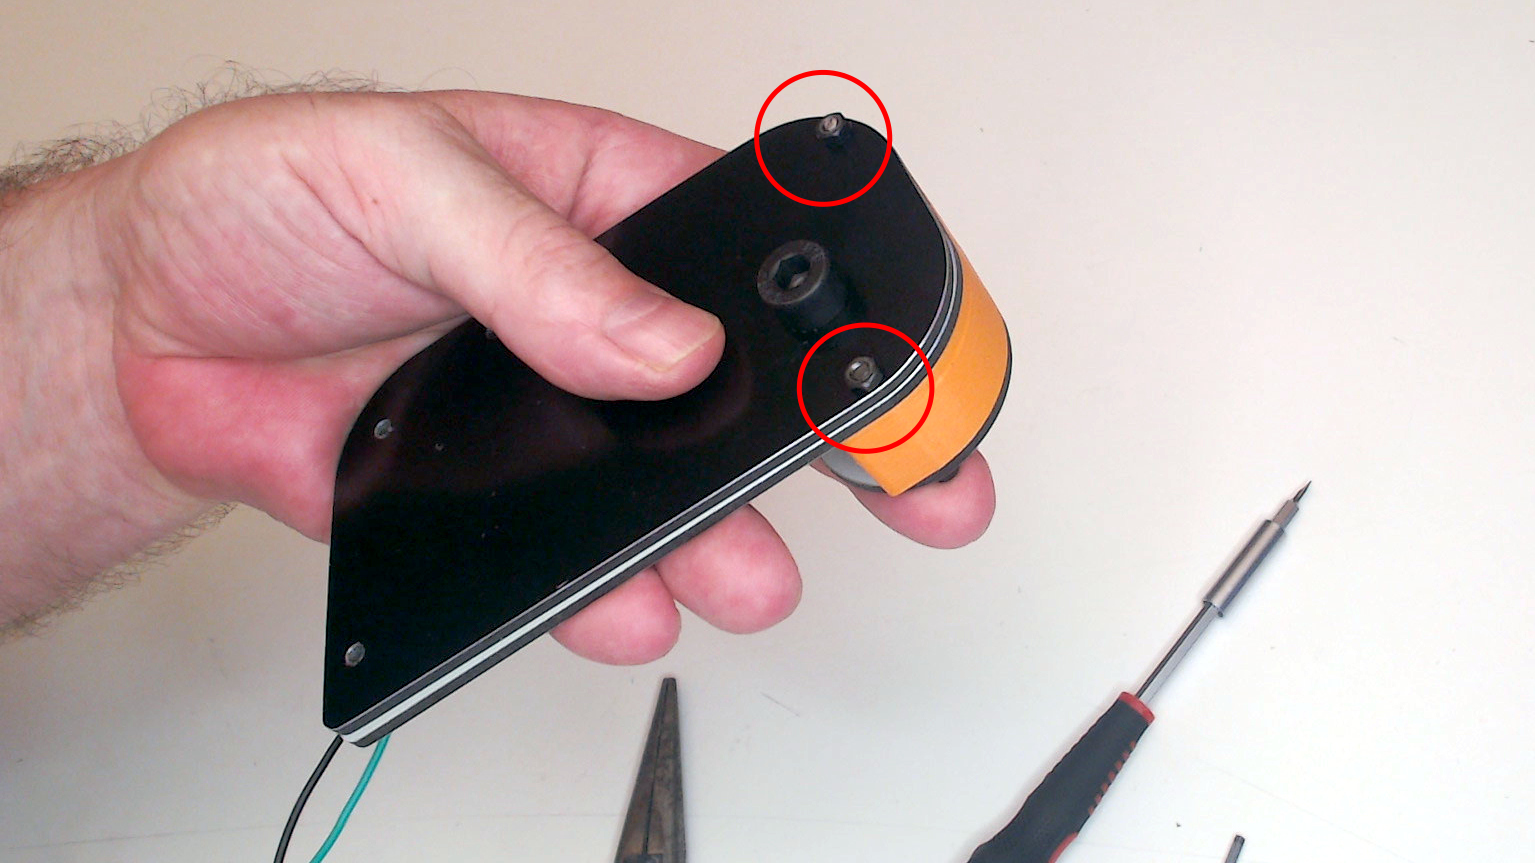 Tighten both nuts.
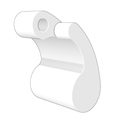
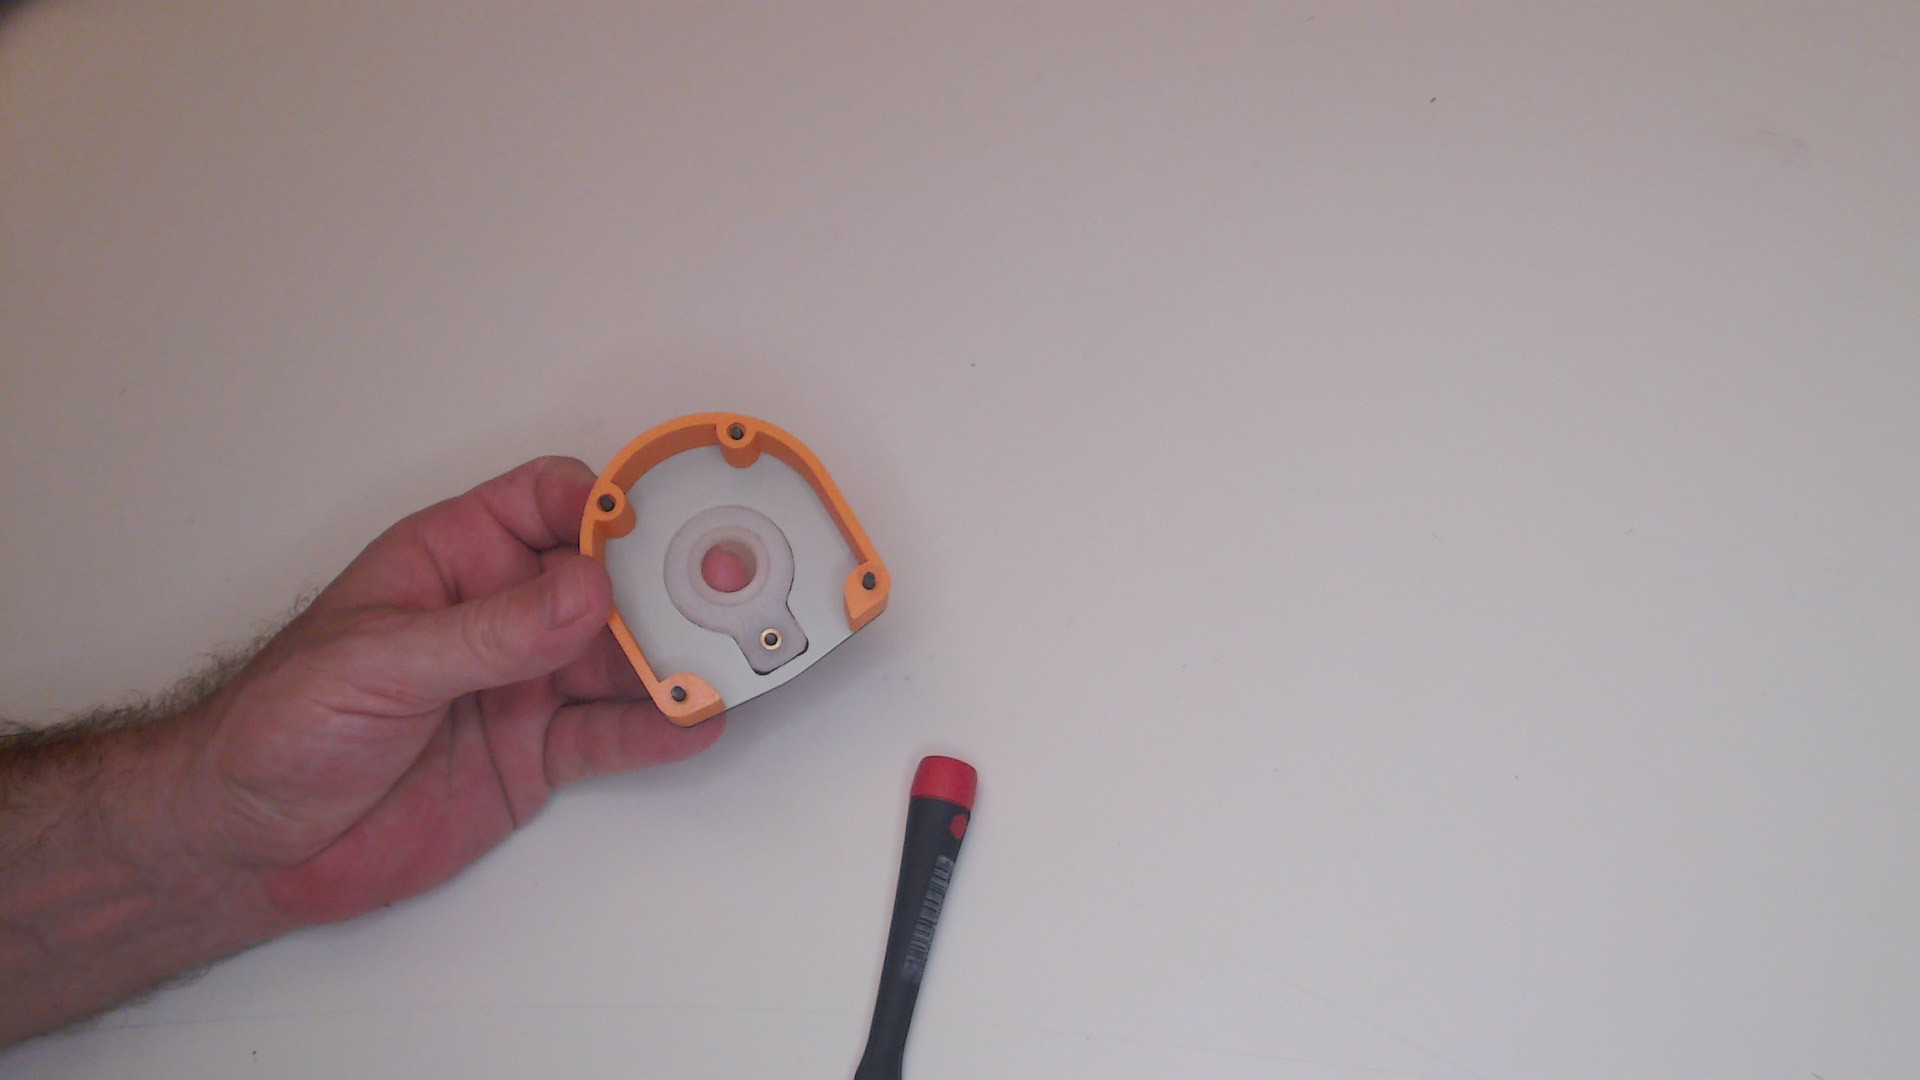
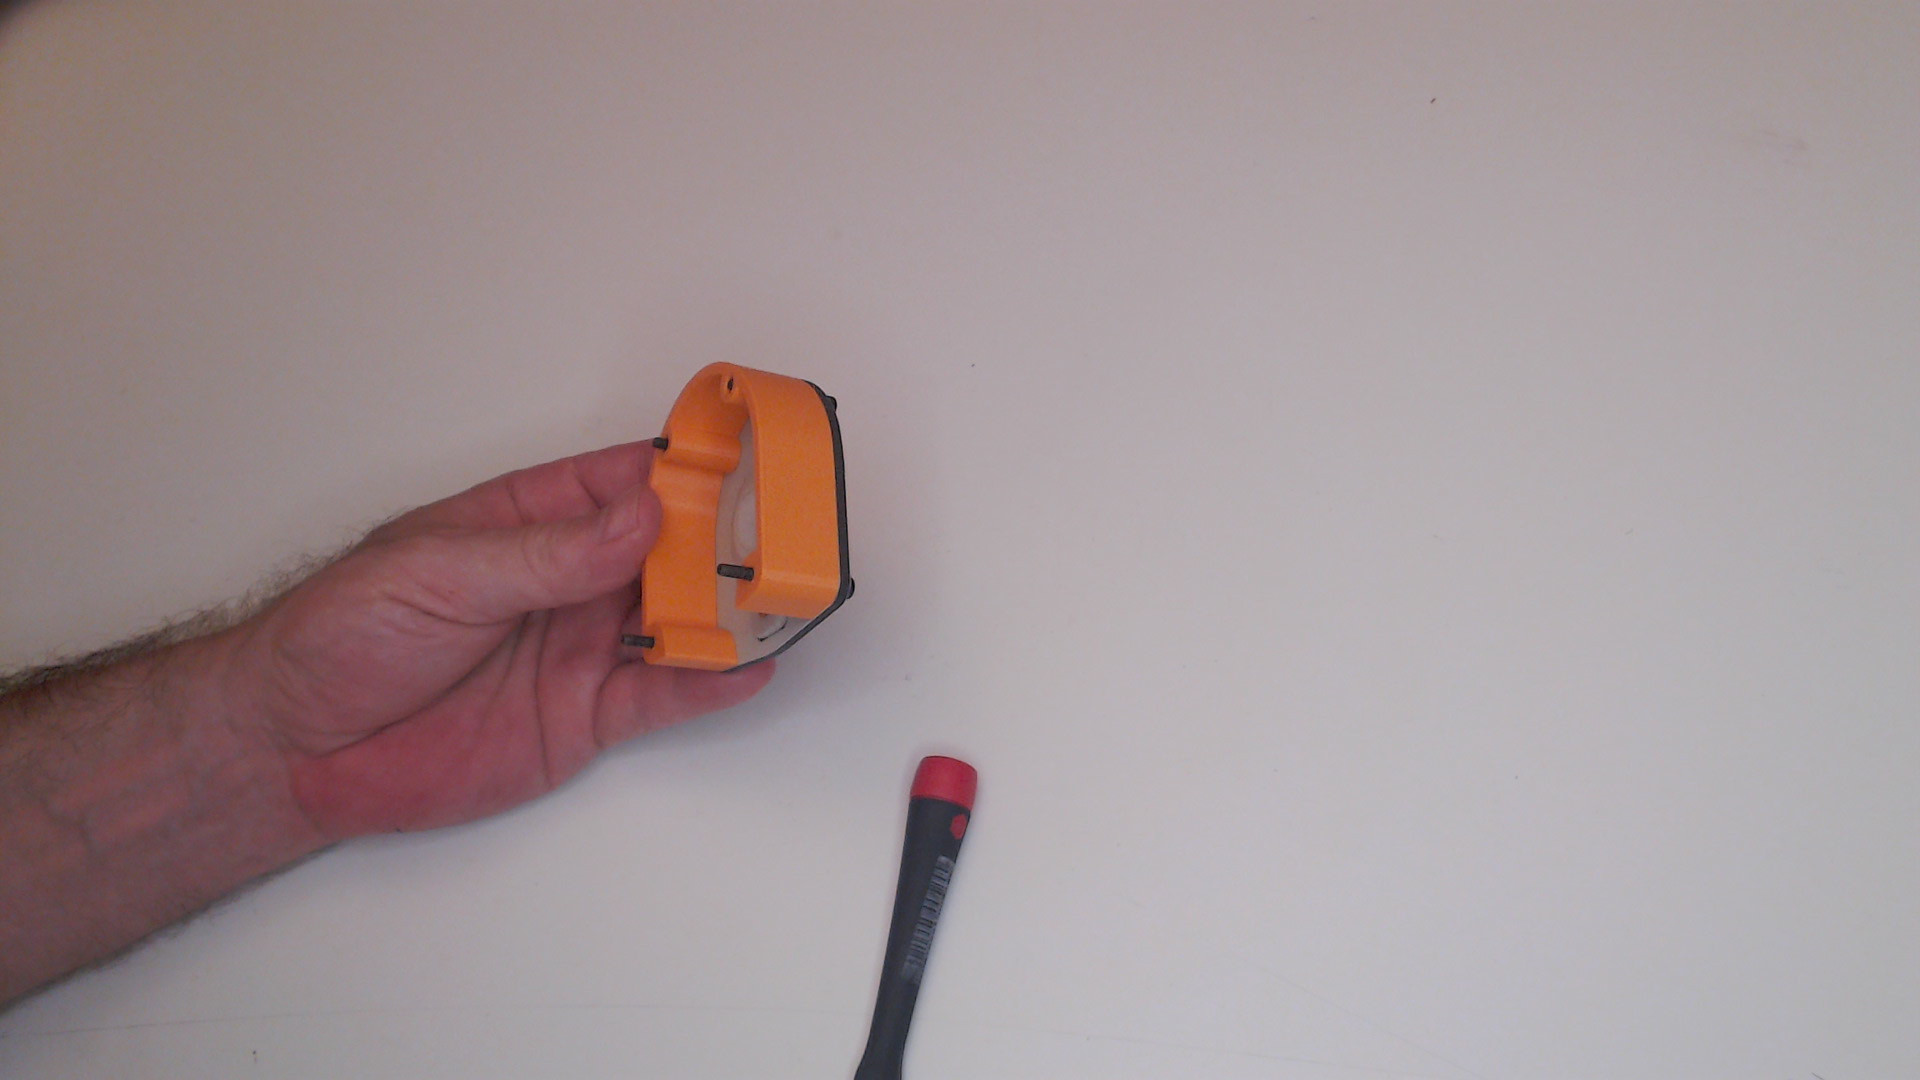
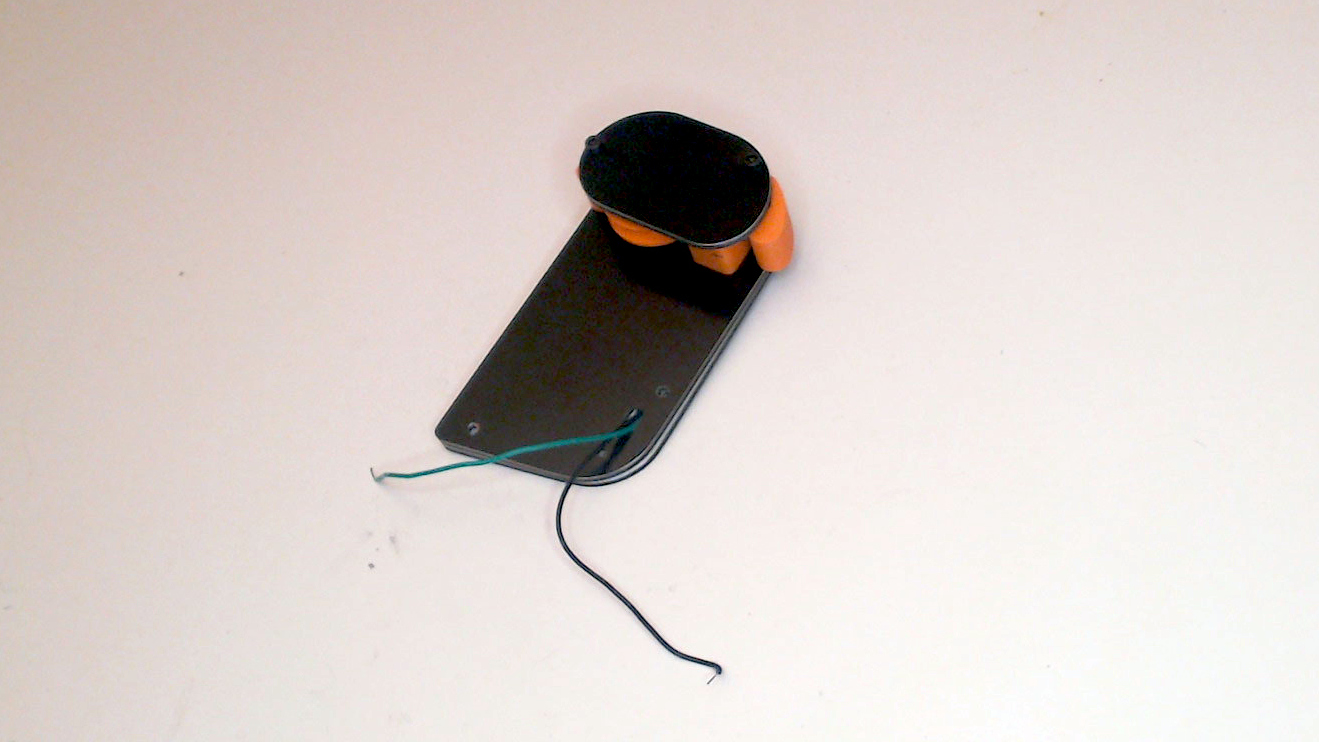 You're done with the right hand assembly!
 Follow the same procedure with the left hand, so you can start with the arms.
Left ArmLink
3d printed partsLink
| 1x | Left arm cap out |
| 1x | Pogo pin clip |
| 1x | Left arm cap middle |
Milled AlucobondLink
| 1x | Arm left |
Right ArmLink
3d printed partsLink
| 1x | Control board holder |
| 1x | Right arm cap middle |
| 1x | Right arm cap out |
Milled AlucobondLink
| 1x | Right arm |
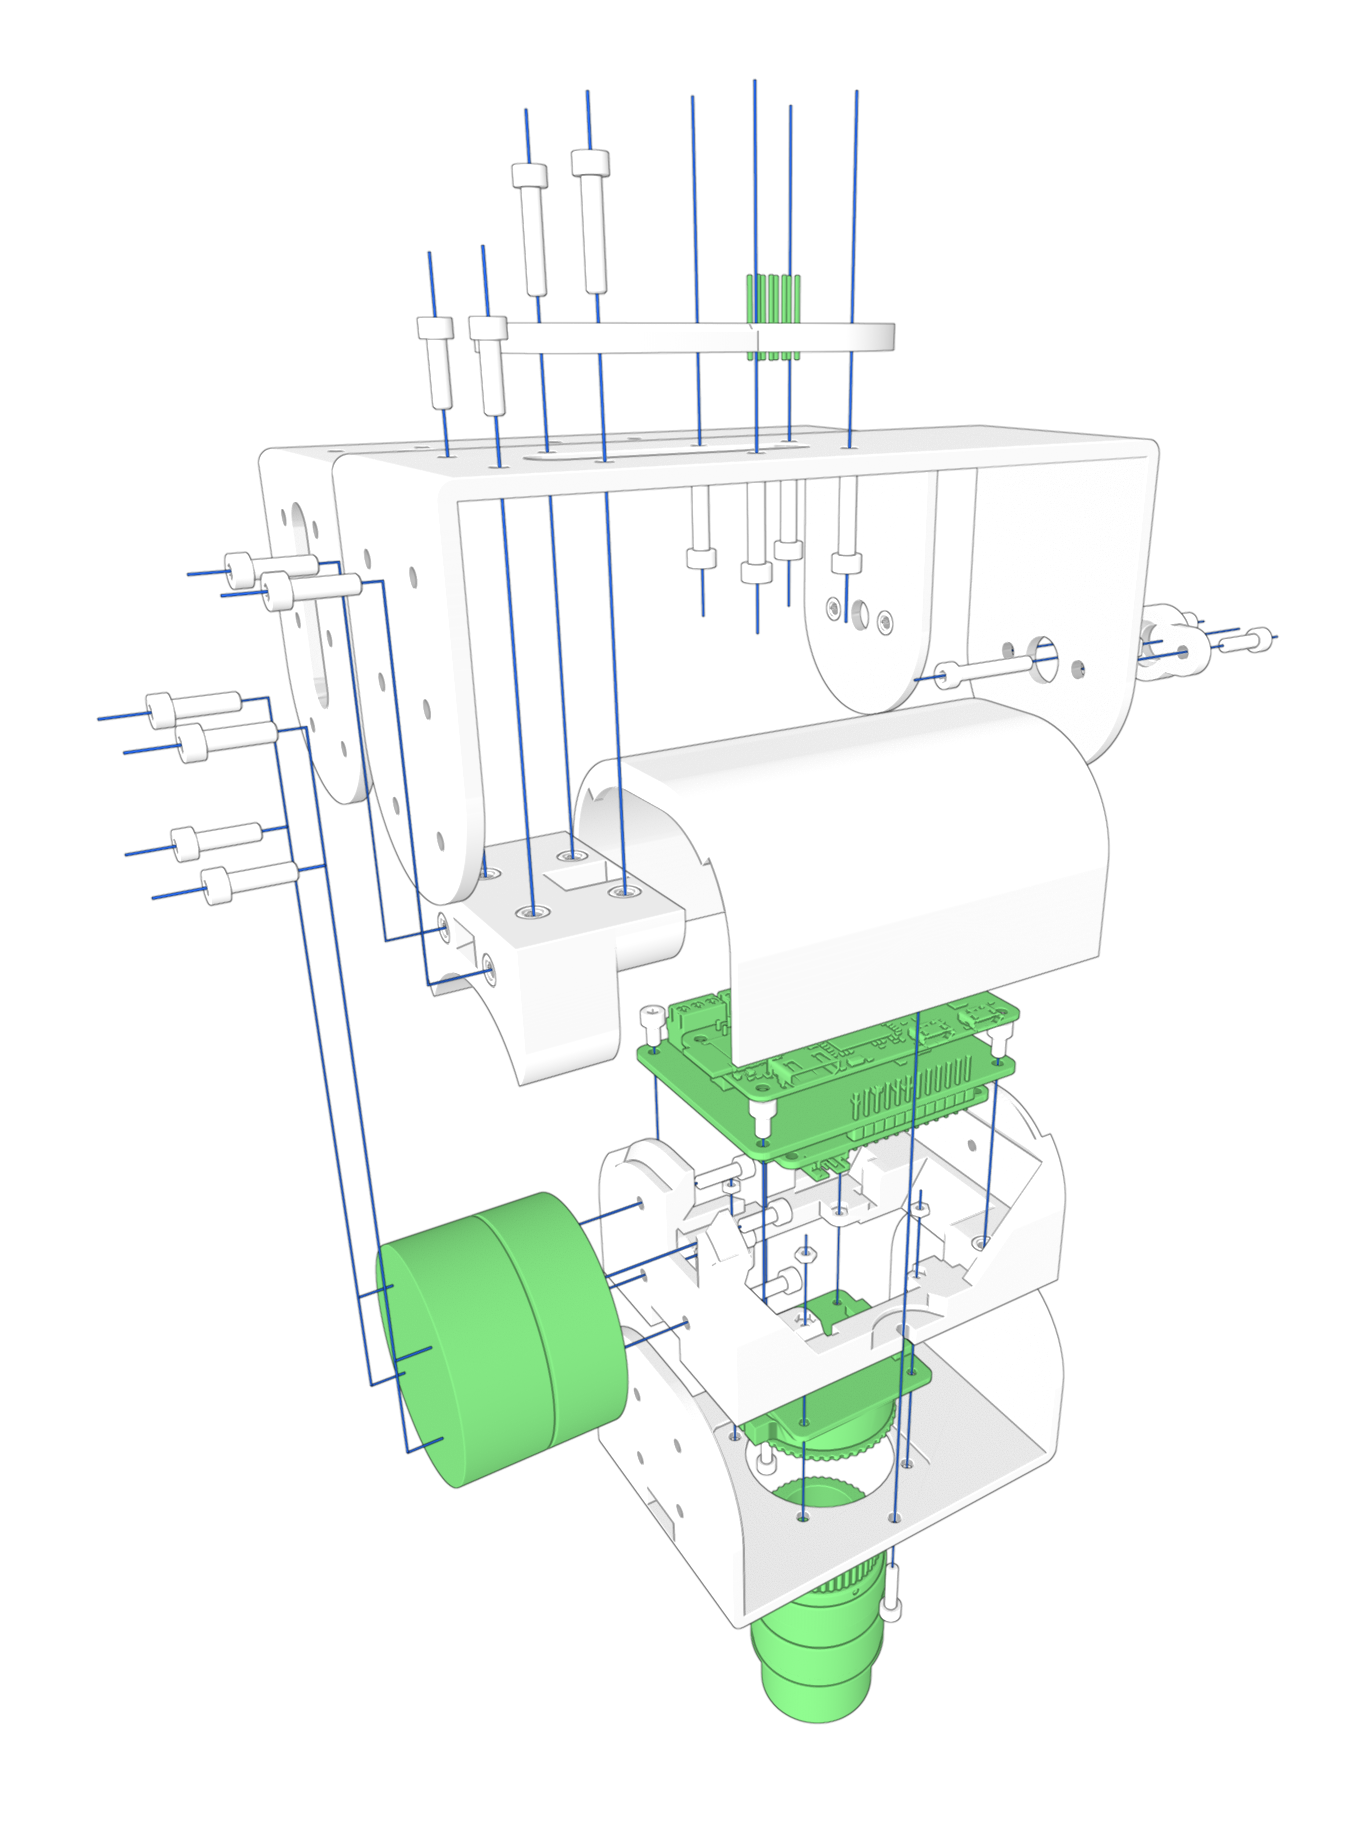
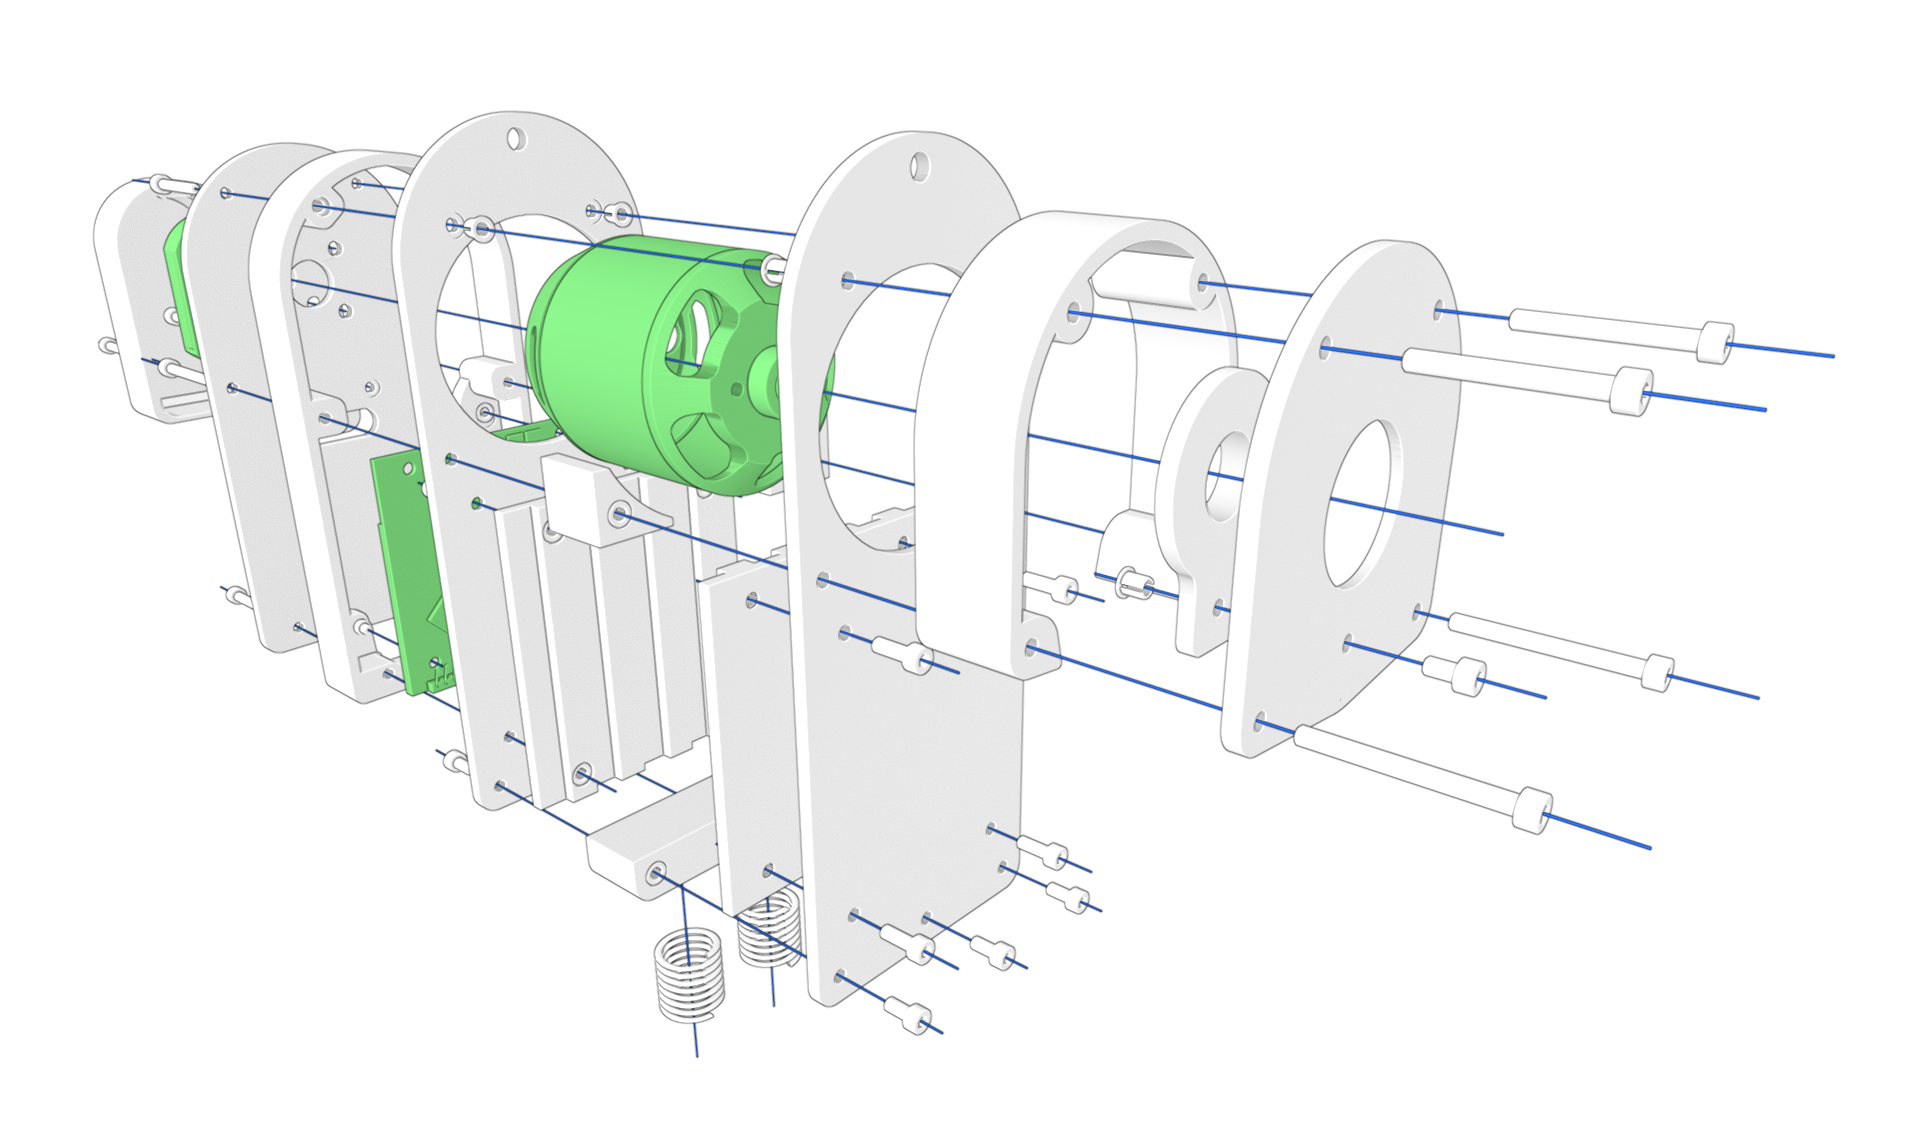
HeadLink
The head part of the module holds the brushless motor and the needed electronics to control it. This part slides depending on the cable tension.
3d printed partsLink
| 1x | Encoder cap |
| 1x | Head separator front |
| 1x | Head separator up |
| 1x | Spring holder up |
| 1x | Head separator back |
| 1x | Encoder holder |
Milled AlucobondLink
| 1x | Head front |
| 1x | Head middle front |
| 1x | Head middle back |
| 1x | Head back |
Hardware partsLink
AssemblyLink
BodyLink
Battery module (BATM)Link

Camera module (CAMM)Link