Wiring of the X-ControllerLink
BOMLink
To assemble the X-Controller, you will need to buy one:
AssemblyLink
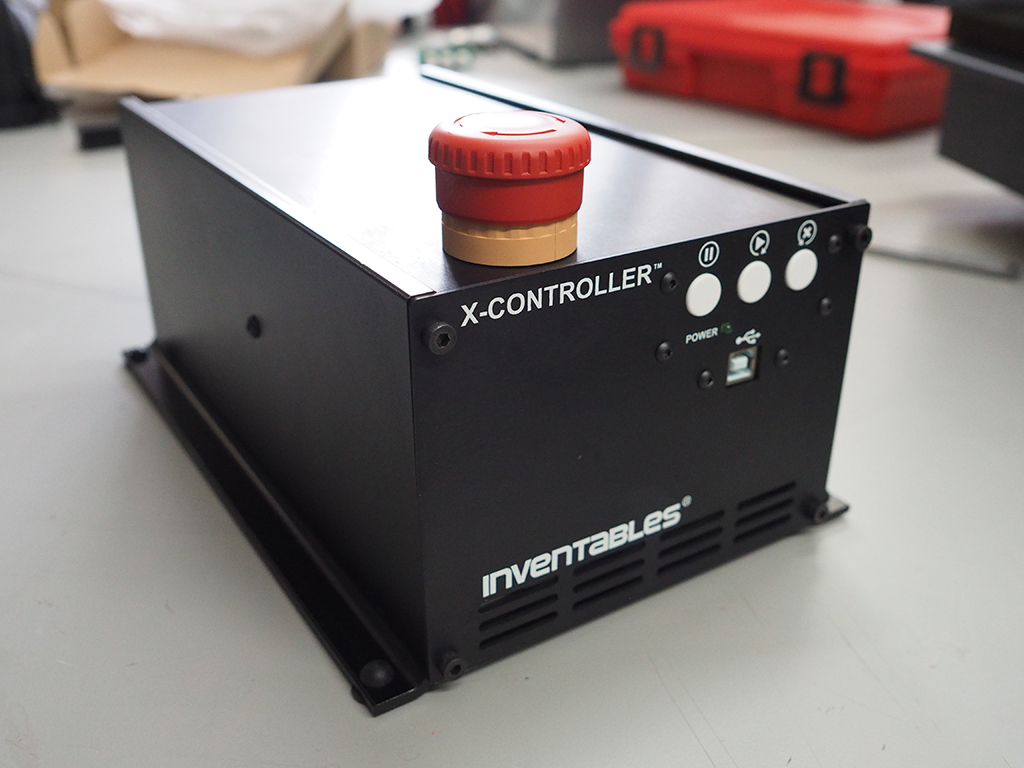
If you ordered the X-Controller, follow the official assembly instructions here.
Note
This is what we used in our first and third version of the plant imager hardware.
Warning
We replaced the default Grbl firmware by Oquam, our own implementation. See here for the instructions on how to flash this firmware to the X-Controller.
Change micro-steppingLink
By default, the X-Controller board is set to 8x microstepping for X & Y axes and to 2x microstepping for the Z axis.
DIP switches: - 8x microstepping with switches 1, 3, and 4 in the 'ON' position. - 2x microstepping with only switches 2 and 4 'ON'.
You can use these values later in the Oquam config.json (see the related section), but this will limit the precision of the axes.
We would thus strongly recommend to change them to 16x microstepping by setting the DIP switches 1, 2 & 4 in the 'ON' position and 3 to 'OFF'.
TroubleshootingLink
PartsLink
If you burn the X-Controller main board, you can buy a new one here.